How to extract images from Google Docs without screenshots
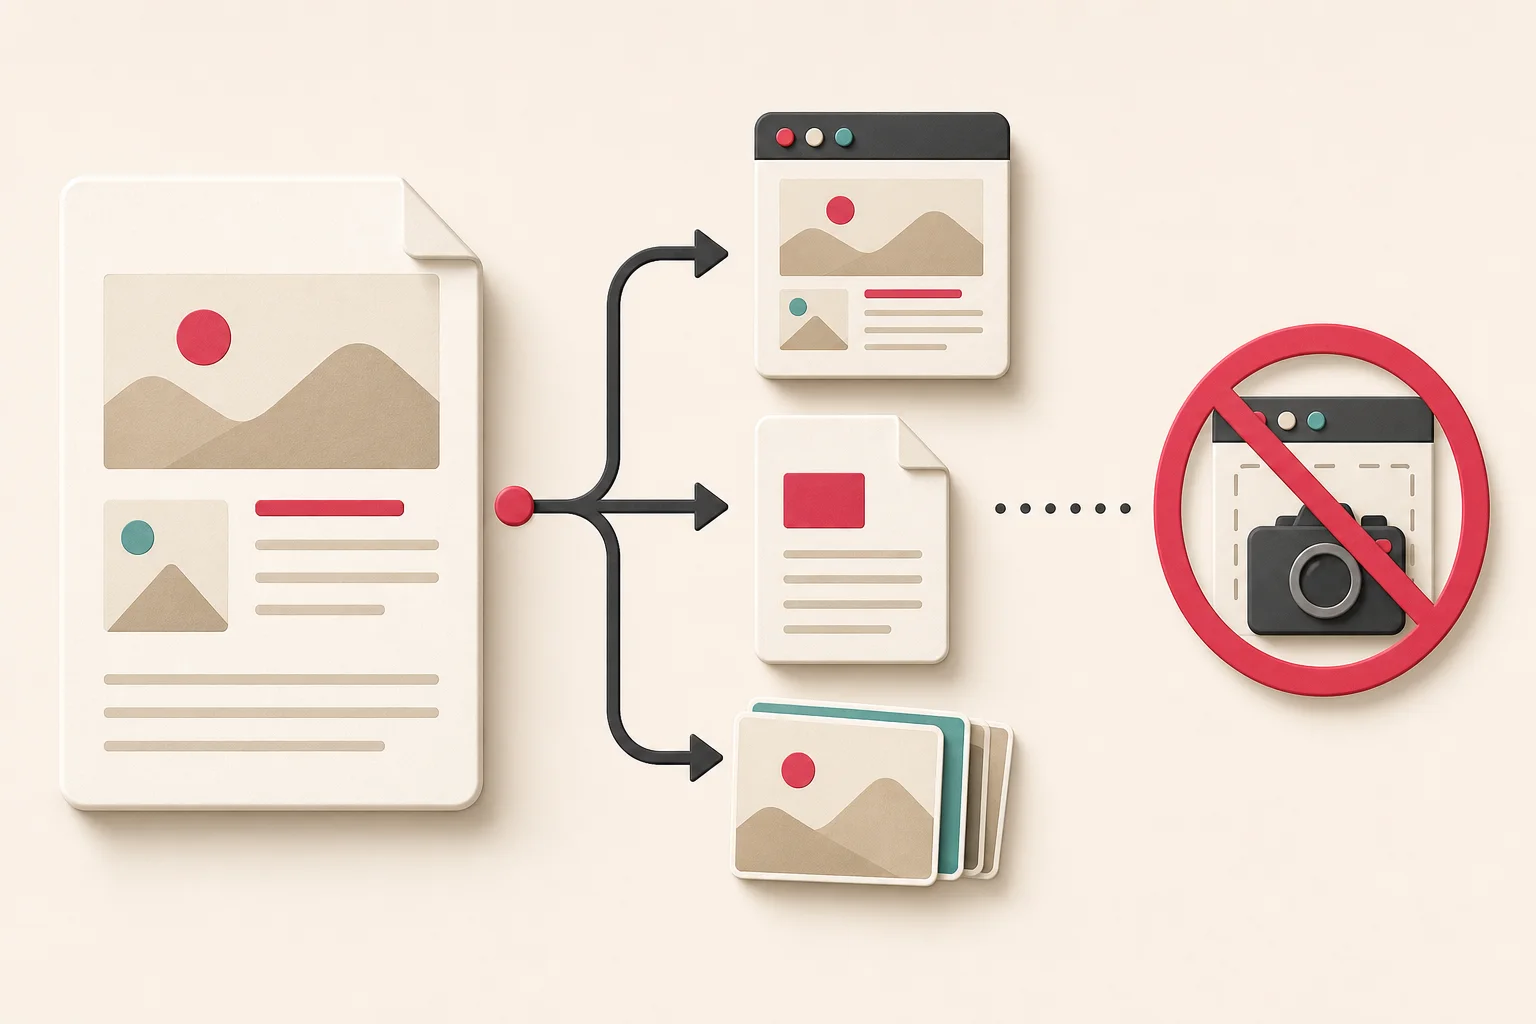
Right-clicking an image in Google Docs does not always provide the simple "save image" behavior you expect from a normal webpage. The picture sits inside an editor, surrounded by application controls, document state, and access rules. A screenshot works in seconds, but it captures only the pixels currently displayed on your screen.
If you need every image from a document, or you want the best copy the document can provide, export the document first. The right export method turns a frustrating one-image-at-a-time task into a clean folder of files.
Only download images from documents you own or have permission to use. Editing access is not the same as a license to publish. If the intended use is public, follow the provenance checks in how to check an image's source and license.
What "best quality" means in Google Docs
The best available file is not necessarily the creator's camera original. An image can be resized, converted, or compressed before or during its journey into a document. Google Docs can only export what the document currently stores or renders.
There are four useful targets:
- The file contained in an exported document package. This is usually the best choice for bulk extraction.
- The image delivered by an HTML export. Convenient and easy to match with nearby text.
- A saved copy of one selected image. Practical when you need only one or two assets.
- A rendered view or screenshot. Useful for documenting the layout, not for recovering source quality.
Start by deciding whether you need the image asset or the page composition. They are not interchangeable.
Method 1: download the document as a web page
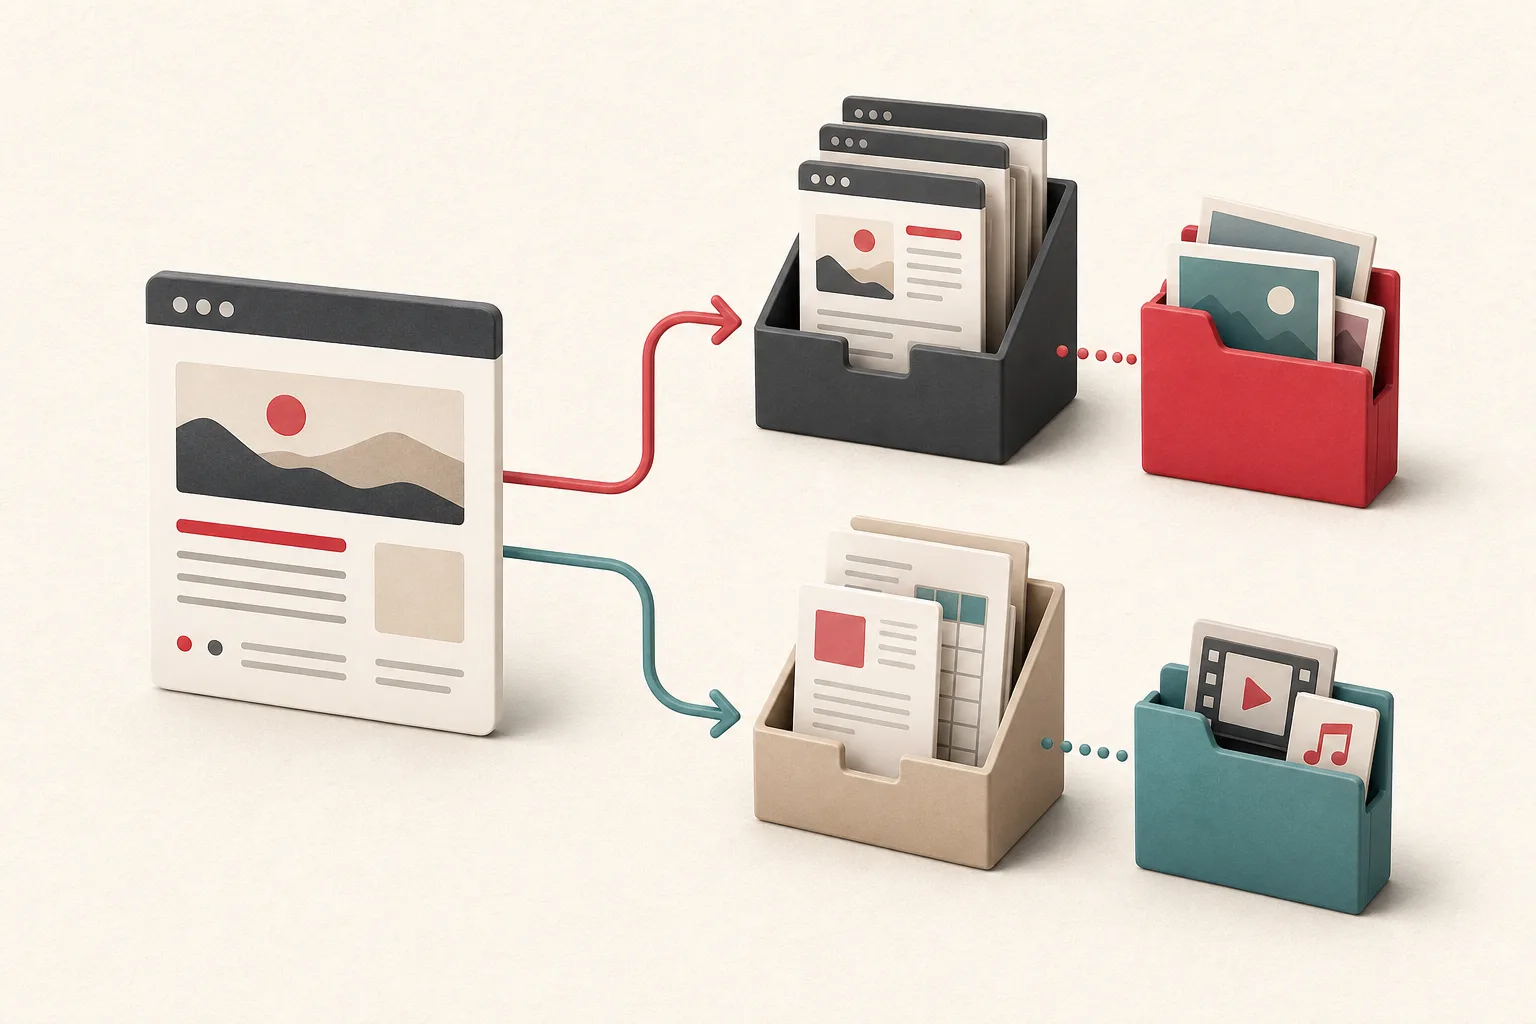
For most people, the HTML export is the quickest bulk method.
- Open the Google Doc with an account that has download permission.
- Use the document's download command and choose the web page or HTML option.
- Google Docs downloads a ZIP archive.
- Extract the archive on your computer.
- Open the accompanying image folder and review the files.
The exported package usually includes an HTML document plus a folder containing the images referenced by that page. The image filenames may be generic, so view them as thumbnails before renaming anything.
HTML export is especially helpful when context matters. Opening the exported HTML locally lets you compare each picture with its position in the document. If you are cataloguing assets, record the section heading, caption, or nearby paragraph along with the filename.
Do not assume the largest numbered filename appears last in the document. Editors can delete, move, and reinsert media. File order is an implementation detail, not a reliable content map.
Method 2: download as Microsoft Word and inspect the package
A .docx file is also a structured ZIP package. This gives you a second dependable extraction route and may preserve a different representation from the HTML export.
- Download the Google Doc as Microsoft Word (
.docx). - Duplicate the downloaded file.
- Rename the copy from
.docxto.zip. - Extract the archive.
- Open
word/media.
You should find the document's embedded image files in that directory. This is the same basic technique described in how to extract images from Word documents.
Keep the original DOCX intact. If your computer hides file extensions, turn them on before renaming the duplicate. You are not converting the document; you are opening the package that already exists beneath the extension.
The DOCX route is worth trying when:
- the HTML export is missing an asset you expected;
- you need to inspect the package systematically;
- your existing archive workflow already handles Office documents;
- you want to compare which export retains better dimensions or transparency.
Neither export guarantees the upload original. Compare the actual files instead of assuming one format always wins.
Method 3: save one image through a temporary document workflow
When you need a single image, a full export can feel excessive. A common workaround is to copy the image into a tool or format that exposes a normal image-saving option. For example, you can copy it into a new presentation, drawing, or note and then export or save from there.
The exact interface changes over time, so focus on the principle: move the selected object into an environment that can export the object itself. After saving, inspect the resulting width and height. Some routes create a rendered derivative, which may be smaller than the package copy.
This method is convenient, not automatically higher quality. For important assets, compare it with the HTML or DOCX extraction.
Why browser inspection is usually unnecessary
A Google Docs editing page is a web application, not a plain article page. Its document canvas and internal resources can change as you scroll, zoom, or interact. Trying to locate the right request in browser developer tools is possible, but it is usually more fragile than using the export Google already provides.
Website extraction methods are better suited to conventional pages. If that is your actual task, start with how to extract image URLs from a website or how to download images from any website.
Use network inspection only when you are authorized, exports are unavailable, and you understand that the editor may load previews, tiles, or temporary URLs rather than reusable originals. Do not attempt to bypass document permissions.
Screenshots: fast, but usually the lowest-quality choice
A screenshot records the on-screen rendering. Its resolution is limited by display pixels, browser zoom, and the size of the image inside the document. It can also include selection borders, cursors, comments, or compression from a later crop.
Screenshots are reasonable for:
- documenting where an image appeared;
- capturing a page layout for review;
- recording a visual state when export is disabled by the owner;
- making a private annotation or bug report.
They are a poor choice for a website hero, print asset, product catalog, or archival master. If a saved screenshot looks blurry, enlarging it later will not restore the source detail. Read why extracted images look blurry for a practical way to diagnose that limit.
Compare exports by dimensions, not by file size alone
After extracting the images, make a small inventory. For each candidate, record:
- filename and format;
- width and height in pixels;
- file size;
- whether it has transparency;
- visible compression artifacts;
- the document section it came from.
Pixel dimensions are the clearest starting point. A 2400 × 1600 image contains more spatial detail than a 600 × 400 version of the same crop. File size can help, but it is affected by image content, compression, and metadata. A well-compressed WebP may be smaller than a JPEG while looking better; a simple PNG may be tiny despite large dimensions.
Compare photographs at 100 percent zoom. Look closely at hair, foliage, fine text, and hard edges. If two copies have the same dimensions, choose based on visible quality, color, transparency, and suitability for the final use.
Drawings, charts, and grouped objects need special care
Not everything that looks like an image is stored as one ordinary bitmap.
A drawing or a group of shapes may arrive as one flattened image. If you need to edit it, find the source drawing instead of trying to rebuild a screenshot. Charts have a similar wrinkle: the Doc may show a rendered copy while the live data sits in a spreadsheet. Export from the spreadsheet when current values or scalable output matter.
Equations and diagrams can be split into several package objects. Logos may have begun as vectors and ended up as raster copies. Before accepting that copy as the master, check the organization's brand library; the guide to finding a website logo, favicon, and social image explains why one brand often has several legitimate files. Animation can disappear too, so open extracted GIFs or other animated formats outside the document before assuming you recovered only a still.

What to do when download is disabled
Document owners and administrators can restrict downloading, printing, or copying. Treat that restriction as an access decision, not a technical obstacle to defeat.
Ask the owner to:
- enable download temporarily;
- provide the image files directly;
- export an approved copy;
- share the source folder or asset library;
- clarify which images may be reused.
This is often faster and safer than piecing together lower-quality screen captures. It also preserves provenance, which matters when the document mixes licensed stock, internal screenshots, customer photos, and brand assets.
A clean bulk-extraction workflow
For a long document or a collection of files, use a repeatable process:
- Create a read-only copy or note the document version and date.
- Export as HTML and DOCX when quality matters.
- Extract each package into a separate folder.
- Generate a contact sheet or browse thumbnails.
- Compare duplicate-looking files by dimensions and content.
- Map each chosen image to its heading, caption, or page context.
- Rename a working copy with a descriptive filename.
- Record owner, source, license, and intended use.
- Optimize a derivative for the destination; preserve the extracted copy.
For a formal content move, adapt the image ledger from our website image inventory guide. It keeps source, ownership, technical data, and destination together instead of scattering that knowledge across folders.
Prepare extracted images for the web
The largest recovered file is a source candidate, not necessarily the file you should upload unchanged. A good web workflow keeps the source and creates fit-for-purpose derivatives.
- Resize photographs to realistic display dimensions.
- Use a modern format supported by your delivery pipeline.
- Keep transparency where the design requires it.
- Do not convert small text diagrams into heavily compressed JPEGs.
- Add descriptive filenames and useful alt text.
- Strip sensitive metadata if the image may contain it.
Use how to remove metadata from photos for privacy-sensitive assets and how to compress images without losing visible quality for delivery optimization.
Common mistakes
The usual mistakes are ordinary ones. Someone saves the first visible preview, renames every file before recording its source, and edits the only copy. Keep the untouched export and a simple source map before you start cleaning filenames.
Also, do not assume the document author owns every graphic. Documents collect screenshots, stock images, customer photos, and brand files from all over. The download button answers whether you can obtain the file; it does not settle whether you can publish it.
Export first; screenshot last
For a whole document, export as a web page and inspect the image folder. If quality matters, compare that set with a DOCX package's word/media folder. A one-image workaround is fine for a quick job. A screenshot is for recording layout, not recovering the file.
Before renaming anything, note which document and section each image came from. Then compare the dimensions at 100 percent. It takes a little longer, but it beats ending up with twenty files called image3 and no idea which ones can be published.