How to build a website image inventory before a redesign

A redesign is a dangerous time for images. The new templates look clean, but an old article loses its diagrams. Product thumbnails survive while original files disappear. Decorative assets are copied without anyone knowing whether they are still used. Alt text, captions, licenses, and crop decisions get separated from the files they describe.
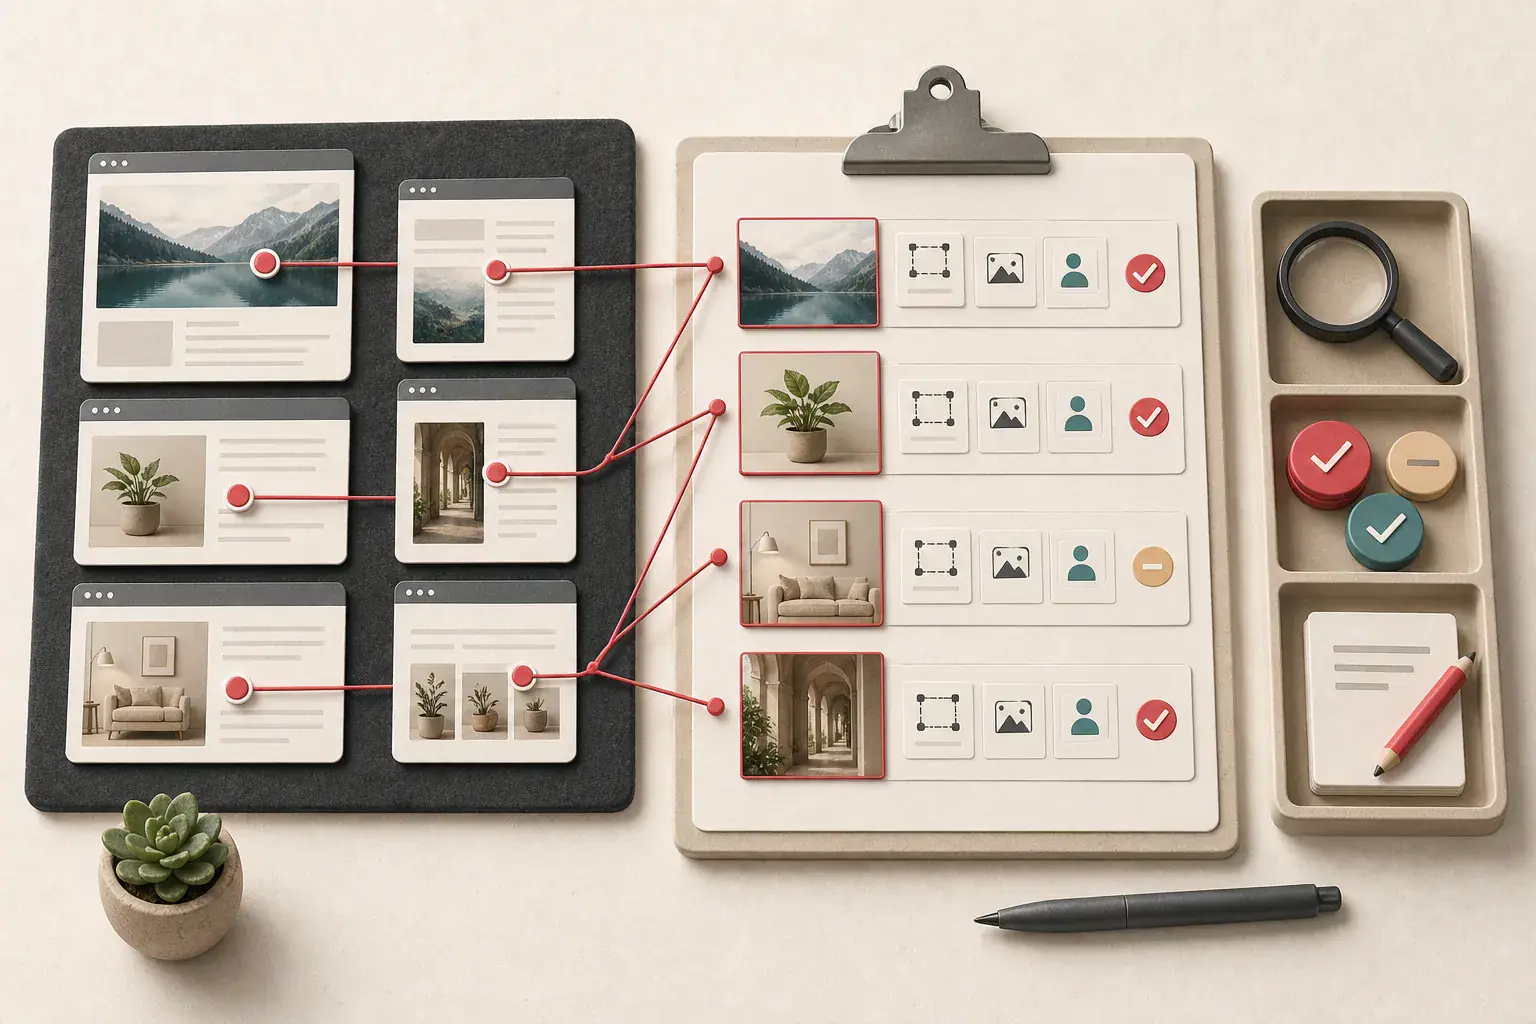
A website image inventory prevents that mess. It is a structured list of the images the current site uses, where they appear, what role they play, who owns them, and what should happen during the redesign.
The inventory is not just a folder of downloads. A folder cannot tell you which page used a file, whether two URLs are duplicates, or whether a hero crop should be replaced. Build the records first, then collect the authorized files.
Define the inventory's purpose
Write down the decision the inventory must support. Common goals include:
- Move every owned content image to a new CMS.
- Reduce duplicate media and storage.
- Find low-resolution or broken assets.
- review alt text and accessibility.
- Confirm licenses before republishing.
- Separate brand assets from editorial photography.
- Create a backup independent of the current CDN.
The purpose determines what you keep. A content migration may exclude tracking pixels and interface icons. A complete redesign inventory needs logos, favicons, backgrounds, and the icon system too.
Choose the source of truth
No single crawl sees everything. Combine sources you control:
- XML sitemaps and canonical page lists
- CMS media records
- Product or catalog exports
- Rendered public pages
- CSS and design-system assets
- Object storage or upload directories
- Analytics or Search Console landing pages
The CMS can contain unused uploads. The public crawl can miss private drafts and files loaded only after interaction. Storage can contain originals that no page references. Treat differences as findings rather than assuming one source is wrong.
Create one row per image occurrence first
At the discovery stage, record every meaningful occurrence:
| Field | Example purpose |
|---|---|
| Page URL | Shows where the image is used |
| Element or role | Hero, product gallery, inline figure, logo, background |
| Delivered URL | Exact file requested by the browser |
| Candidate URLs | srcset, zoom, or format variants |
| Alt text | Preserves accessibility context |
| Caption | Preserves editorial meaning |
| Natural dimensions | Identifies thumbnails and weak files |
| Format | Supports conversion and compatibility decisions |
| Status | Keep, replace, merge, archive, or review |
One file can appear on many pages with different alt text or meaning. If you collapse to one row per file too early, you lose that context.
After discovery, create a separate asset table with one record per underlying master and link occurrences to it.
Crawl the rendered pages
Use the locally rendered ExtractPics image extractor on each important page template. For a larger owned site, work from the sitemap and store results in batches.
Collect:
<img>sources and responsive candidates<picture>sources- Lazy-loaded images after scrolling
- CSS backgrounds
- Open Graph and social images
- Logos, icons, and manifest assets when in scope
The lazy image guide and CSS background guide cover the two most common gaps.
Do not download everything immediately. Export URLs and metadata so you can filter first.
Normalize URLs carefully
Resolve relative paths and remove fragments that do not affect the resource. Keep query parameters until you understand them. Width, crop, quality, signature, and format parameters can represent different files or delivery rules.
Create both a raw URL and a normalized grouping key. The raw URL preserves evidence. The grouping key helps associate CDN variants with one source.
Read the image CDN parameter guide before stripping transformations.
Record dimensions and real file type
Download or inspect authorized candidates and capture:
- Pixel width and height
- Byte size
- MIME type
- Extension
- Color profile when relevant
- Transparency
- Animation
Do not trust the filename. A URL ending in .jpg can return WebP through content negotiation. A large byte size does not guarantee large dimensions or good detail.
Preview files at 100 percent. Mark obvious thumbnails, aggressive crops, and upscaled blur. The blurry image guide explains the warning signs.
Separate assets by role
Useful roles include:
- Editorial photograph
- Product master
- Product derivative
- Diagram or infographic
- Author avatar
- Logo or wordmark
- Favicon or app icon
- Social preview
- CSS background
- Interface icon
- Tracking or advertising asset
- Placeholder
Role-based groups prevent a filter from deleting a meaningful 64-pixel icon while keeping a 1,200-pixel advertisement.
Use the filtering guide for noisy extraction results.
Find duplicates after preserving context
Start with exact URL matches, then compare downloaded file hashes. Perceptual hashing can group resized or recompressed versions.
Do not delete duplicates immediately. The same bytes may be intentionally used across several pages. Different crops may serve distinct layouts. Choose a canonical master, record every occurrence, and update references during implementation.
The duplicate image guide provides a safe sequence.
Add ownership and license information
For every asset intended to survive the redesign, record:
- Owner or creator
- Source location
- License or written permission
- Attribution requirements
- Usage limits
- Purchase or contract reference
- Review date
"Found on old site" is not a license. A redesign republishes the material, so uncertain rights should be resolved before launch.
Use the source and license checklist for third-party files.
Audit alt text in context
Alt text belongs to an occurrence, not automatically to the file. The same headshot can identify a speaker on one page and be decorative on another. Copying one description everywhere can create repetition or incorrect meaning.
Export existing values, flag missing and suspicious text, then have a human review each important context. Filenames and computer-generated captions are clues, not final accessibility decisions.
The alt text export guide explains how to build that worksheet.
Decide what happens to each asset
Use explicit statuses:
- Keep: suitable master and rights confirmed
- Replace: weak quality, outdated visual, or brand mismatch
- Merge: duplicate should point to a canonical asset
- Re-export: master exists but current derivative is unsuitable
- Archive: no longer published but retained internally
- Remove: tracking, broken placeholder, or unused clutter
- Review: ownership, purpose, or source uncertain
Add an owner and due date to every review item. Otherwise the migration stalls on a pile of "maybe" records.
Plan new derivatives
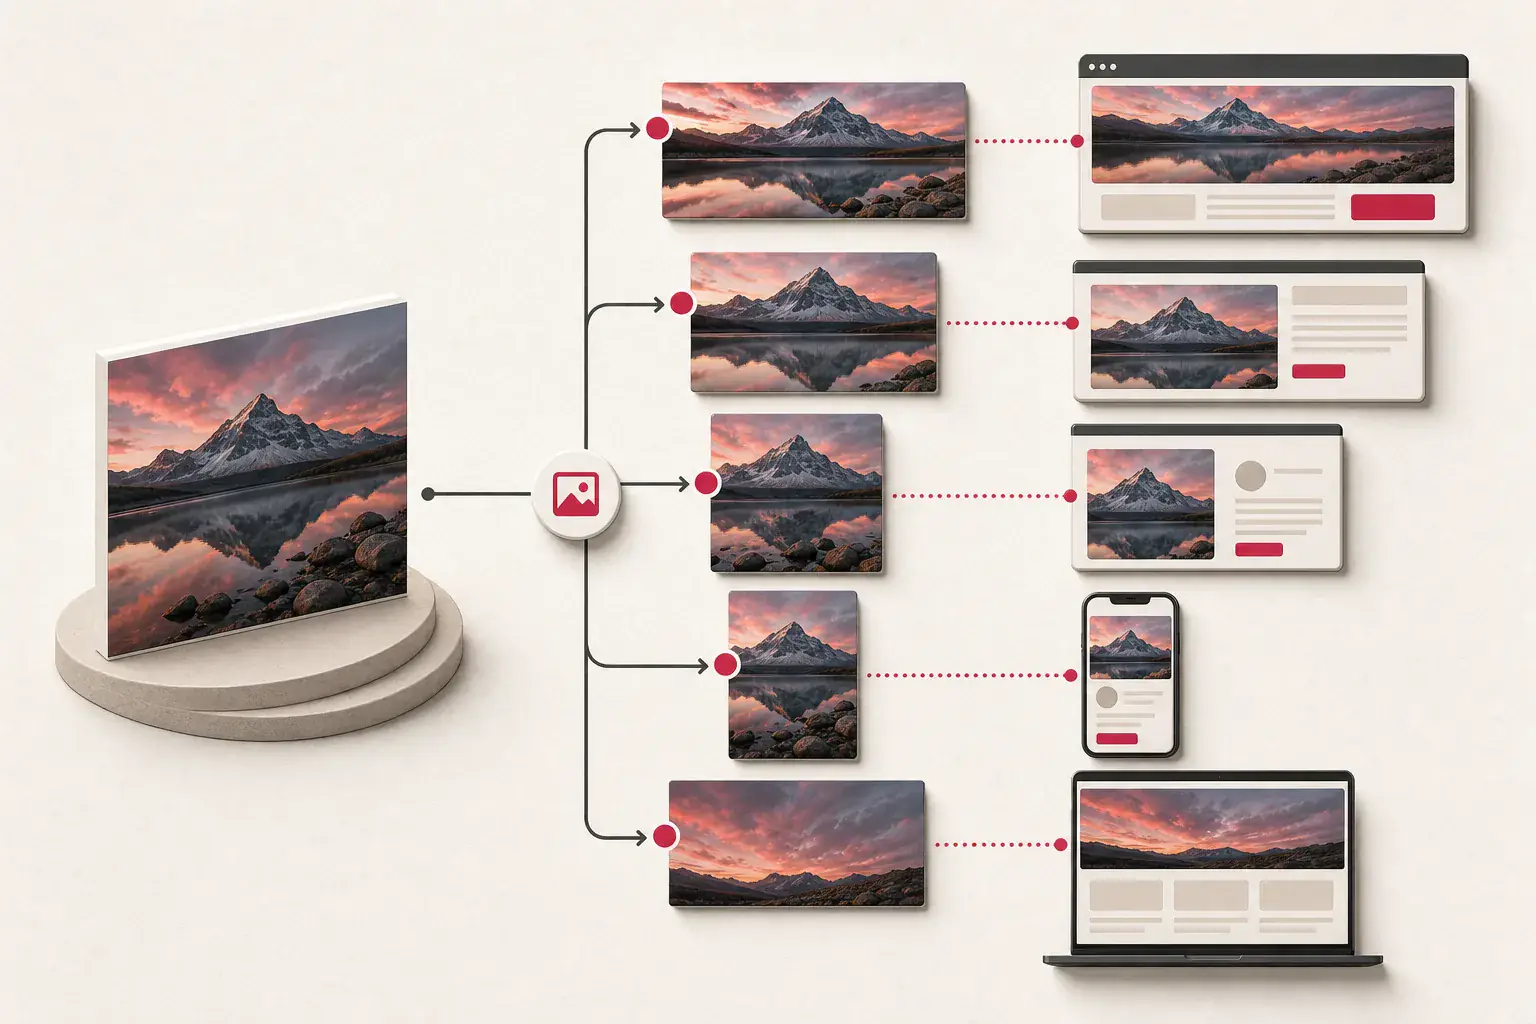
The redesign should create web derivatives from preserved masters, not reuse whatever thumbnail happened to be on the old page.
For each component, define:
- Aspect ratio
- Maximum display width
- Responsive candidate widths
- Preferred formats
- Quality settings
- Art-directed crops
- Focal point
- Loading priority
Keep the original separate from generated files. Document the transformation so the site can reproduce it.
Map old URLs to new URLs
An image migration can break traffic and external embeds even when pages redirect correctly. Decide whether important old media URLs should redirect, remain served, or be replaced in content.
Maintain a mapping table:
old URL -> asset ID -> new canonical URL -> redirect status
Test encoded characters, uppercase paths, spaces, and query-based transformations. Do not assume a CDN hostname will remain available after the account changes.
Validate the redesigned site
After migration, crawl the new site and compare it with the approved inventory.
Check:
- Every keep item appears where expected.
- No page references the retired domain or storage bucket.
- Natural dimensions suit the rendered slots.
- Responsive candidates load correctly.
- Alt text and captions survived.
- Social and application images use the new domain.
- Broken and unauthorized files are absent.
- Redirects work for important old asset URLs.
Use the website migration image QA checklist for the final comparison.
Make the inventory maintainable
A one-time spreadsheet becomes stale quickly. Add asset ownership and usage data to the CMS where possible. Require alt text or an explicit decorative choice. Store license documents with stable asset IDs. Generate derivatives through a documented pipeline.
Schedule periodic checks for broken image URLs, unused uploads, missing dimensions, and expiring external sources. A small monthly cleanup is easier than reconstructing everything during the next redesign.
A practical project sequence
- Freeze the URL and content scope.
- Export CMS, catalog, sitemap, and storage lists.
- Crawl rendered page templates.
- Build occurrence and asset tables.
- Normalize, classify, and group variants.
- Verify masters, dimensions, rights, and context.
- Assign keep, replace, merge, archive, or review decisions.
- Create new derivatives and URL mappings.
- Migrate content and metadata.
- Crawl the new site and reconcile every approved record.
Make the inventory useful after launch
A folder of downloaded images is easy to make and surprisingly hard to use. Six months later, nobody remembers which crop belonged to the homepage or whether the unlabeled portrait was cleared for another campaign. The inventory is what keeps those answers attached to the files.
Record occurrences before merging duplicates, and keep source masters away from disposable derivatives. After launch, reconcile the new crawl with the approved list instead of trusting a handful of screenshots. The inventory earns its keep when somebody can trace a broken or questionable image without reopening the whole migration project.
Related posts
Website migration image QA checklist
A before-and-after image testing workflow for redesigns, domain moves, platform changes, and CDN migrations.
How to export image URLs and alt text for an accessibility audit
A practical method for turning a website image crawl into an accessibility worksheet that a human reviewer can use.