Why extracted images look blurry and how to find the original
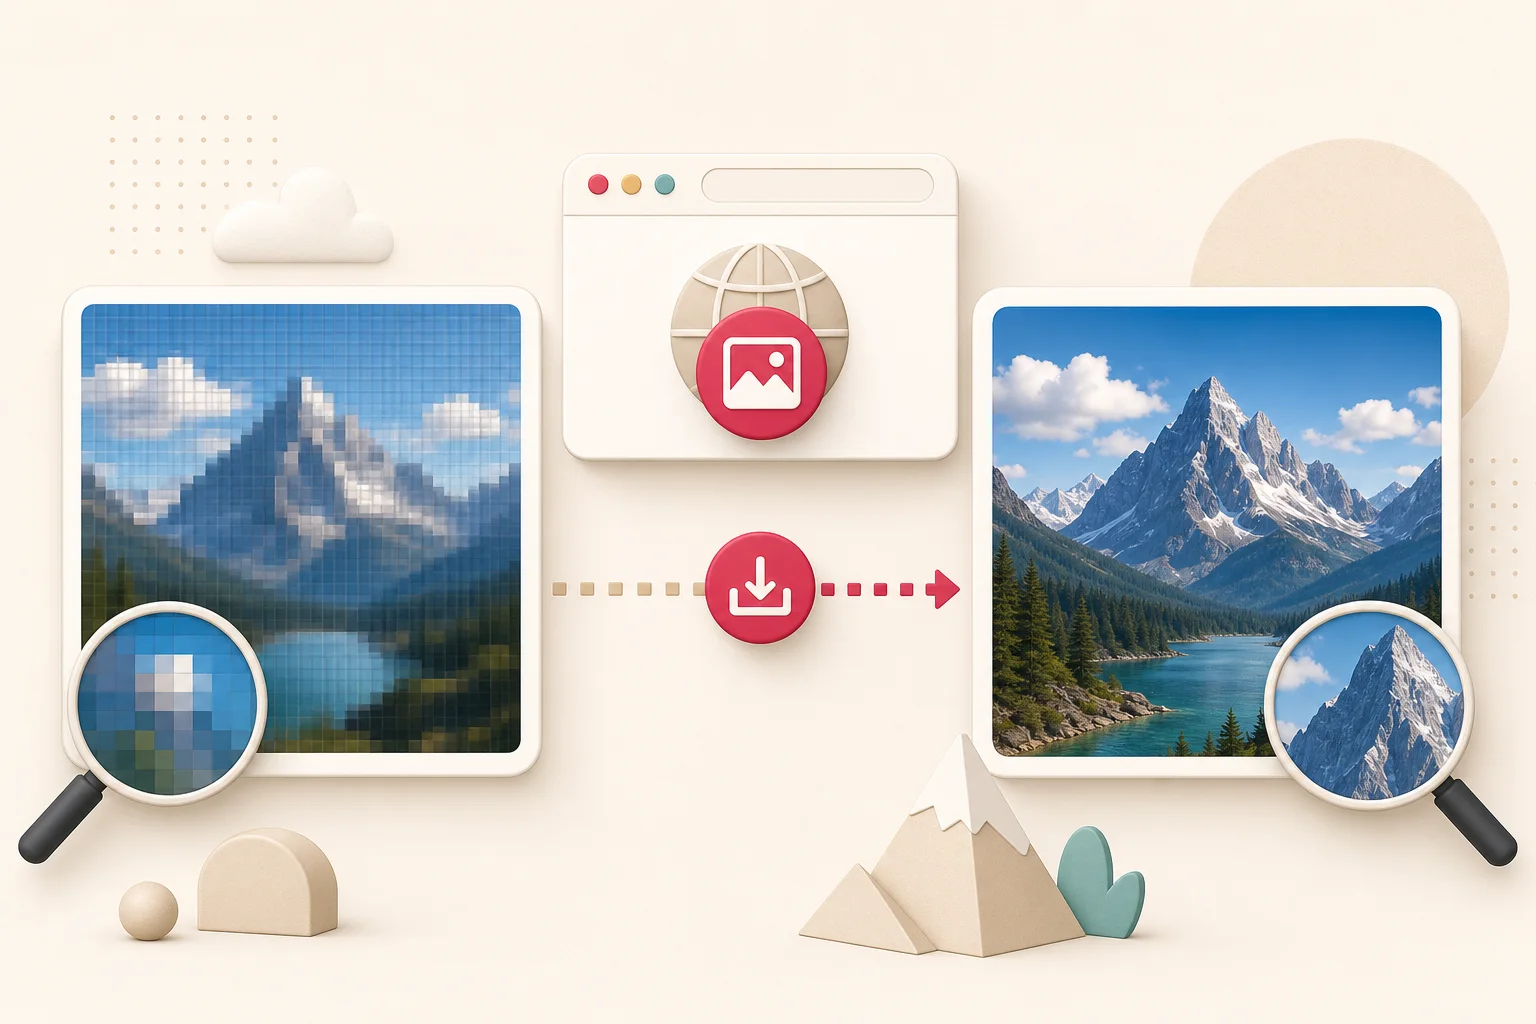
You find the right photo on a webpage, save it, and open the file expecting the same sharp image you saw in the browser. Instead, it looks soft, blocky, or strangely small. This usually does not mean the website has a bad original. More often, you downloaded one of the lightweight versions the site created for a thumbnail, card, mobile screen, or zoom preview.
Modern websites rarely send one image file to everyone. They keep several sizes and let the browser choose one. A phone may receive a 480-pixel copy while a desktop display receives a 1,600-pixel copy. A product grid might use a 300-pixel thumbnail even though the product gallery has a 2,400-pixel original. If your download method grabs the version currently displayed, it can save the smaller file.
The fix is to identify what kind of preview you downloaded, then trace it back to the largest file the page actually provides. You do not need to upscale the thumbnail or sharpen it artificially. In many cases, the better file is already linked in the page.
Six reasons a sharp photo turns soft
A downloaded image normally looks blurry for one of six reasons:
- You saved a thumbnail rather than the original.
- The browser selected a smaller responsive image from
srcset. - An image CDN resized or compressed the file through URL parameters.
- You saved a screenshot instead of the image file.
- The site enlarged a small source with CSS.
- The file was converted or compressed again after downloading.
Start by checking the downloaded file's pixel dimensions. A file that measures 320 by 240 pixels will not stay sharp when displayed at 1,200 pixels wide. File size alone is not enough: a detailed 1,600-pixel WebP can be smaller than a poorly compressed 800-pixel PNG.
Displayed size and real size are different
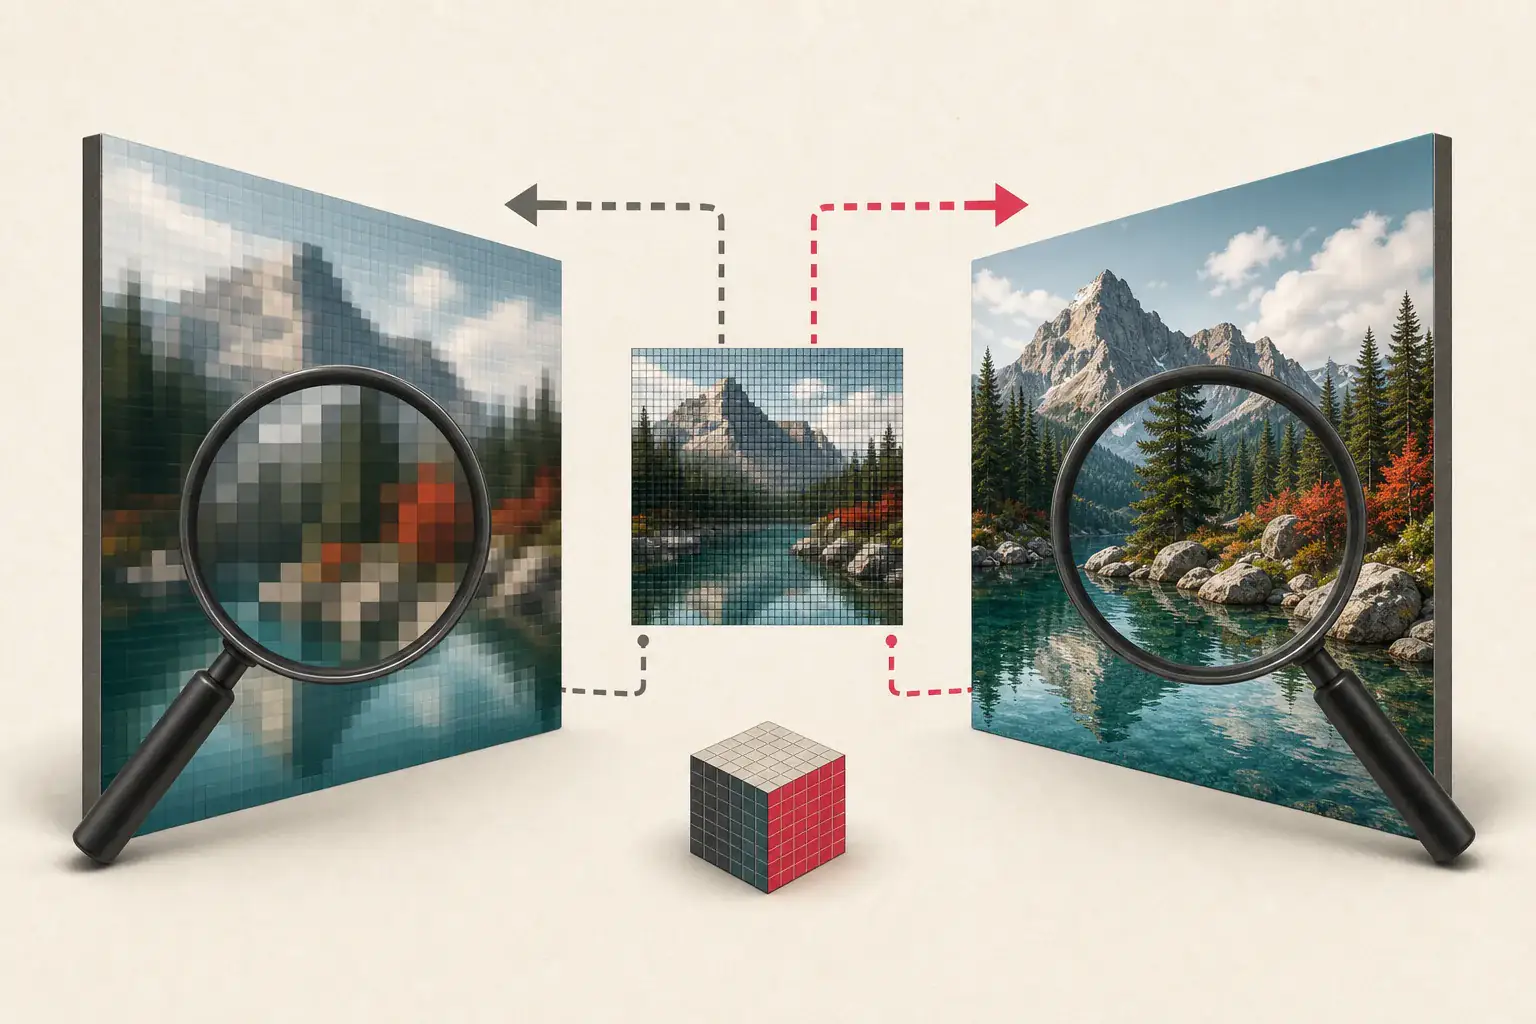
Every raster image has an intrinsic width and height. These are the dimensions stored in the file. The browser can display that file at almost any CSS size, which is where the confusion begins.
Suppose a page loads a 400 by 300 pixel thumbnail but stretches it across an 800-pixel card. It may look acceptable at a glance because the browser smooths the enlarged pixels. Once you save and inspect it closely, the missing detail becomes obvious.
The reverse also happens. A page can load a 2,000-pixel image and display it in a 500-pixel card. Saving that source gives you far more resolution than its on-screen size suggests.
On a desktop browser, open Developer Tools, select the image, and compare its rendered dimensions with naturalWidth and naturalHeight. The natural values describe the file the browser loaded. If the element is displayed wider than its natural width, blur is expected.
You probably downloaded a thumbnail
Thumbnails make galleries and store pages faster. A page can show twenty small product previews without forcing the visitor to download twenty full-resolution photographs. When someone opens the gallery or zooms in, the site requests a larger file.
Look for these clues in the image URL:
- Dimensions such as
300x300,640w, orwidth=480 - Words such as
thumb,thumbnail,small,preview, ormedium - A WordPress-style suffix such as
photo-768x512.jpg - CDN parameters such as
w=600,h=400,q=70, orfit=crop - A filename that differs from the link wrapped around the thumbnail
Clicking the image before saving often helps. A product thumbnail may open a zoom viewer, a gallery item may link to a larger file, and a portfolio grid may link directly to the original asset. If the page provides that route, use it rather than editing the URL by guesswork.
For a more detailed walkthrough, see how to find a full-size image instead of a thumbnail.
Responsive images can change with your screen
Responsive image markup gives the browser several candidates. A simplified element might look like this:
<img
  src="photo-640.jpg"
  srcset="photo-640.jpg 640w, photo-1280.jpg 1280w, photo-2400.jpg 2400w"
  sizes="(max-width: 700px) 100vw, 700px"
  alt="Mountain lake at sunrise"
>
The browser considers the layout width, screen density, and sizes instruction, then chooses a candidate. Right-clicking and saving may give you the selected candidate, not necessarily the largest one in srcset.
This behavior is useful for performance. Sending a 2,400-pixel photograph to a small phone wastes data. It is less useful when your goal is to recover the original asset for a permitted migration or backup.
Inspect the element and read its complete srcset, or use an extractor that collects every responsive candidate. The guide to srcset and the picture element explains the selection rules in detail. MDN's responsive images documentation is also a reliable technical reference.
Image CDNs transform files through the URL
Many sites route images through a content delivery network. The original file stays in storage while the CDN creates resized, cropped, compressed, or reformatted versions on demand.
Consider a generic URL like this:
https://images.example.com/catalog/shoe.jpg?w=480&h=480&fit=crop&q=70
The path may point to a large product photo, but the query requests a 480-pixel square crop at a reduced quality setting. A different page could request the same source at 1,600 pixels.
Do not automatically delete parameters from unfamiliar URLs. Some services require a signed transformation, and changing it can produce a 403 error or a broken link. Instead, check whether the page itself provides a larger candidate. You can learn the common patterns in the image CDN URL parameter guide.
Screenshots cannot recover missing detail
A screenshot records the pixels shown on your screen. It does not copy the source file. Browser zoom, display scaling, and the size of the visible image all affect the result.
Screenshots are fine when you need to document a layout or capture a state that has no separate image file. They are a poor choice for product photography, artwork, logos, or migration assets. A screenshot can also flatten transparency, crop the edges, add surrounding interface pixels, and convert everything into a new format.
If an image exists as a separate file, download that file. Use a screenshot only when the screen itself is what you need to preserve.
A practical way to find the largest available image
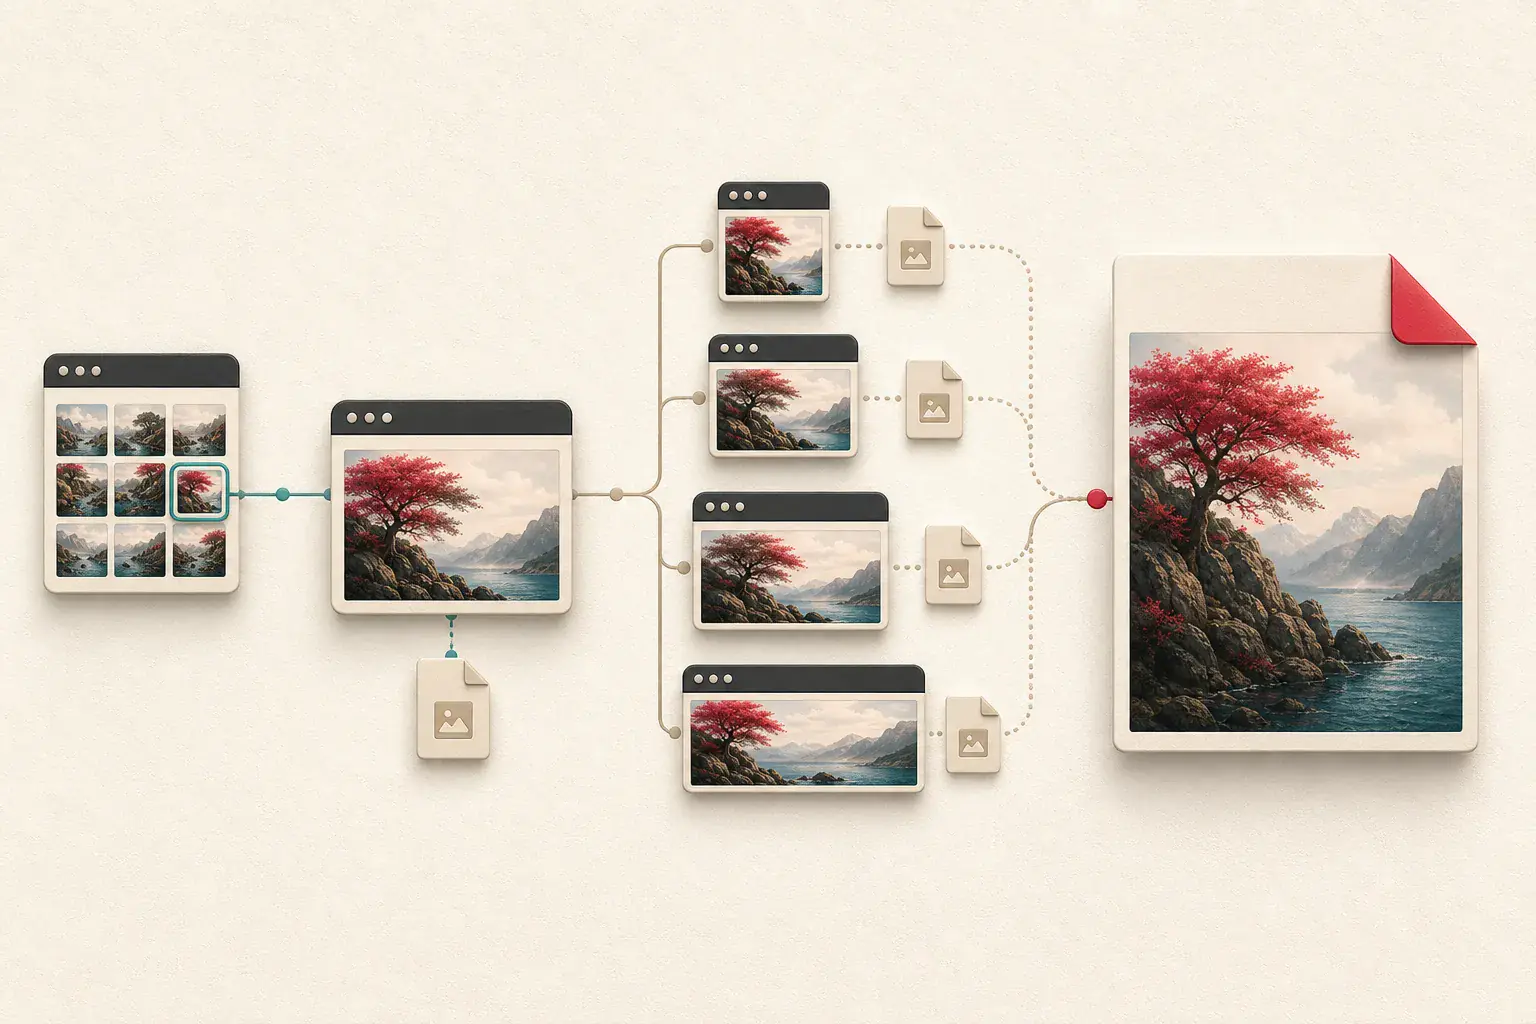
Use this sequence rather than trying random URL edits:
1. Check the downloaded dimensions
Open the file's properties or information panel and note its pixel width and height. Compare those dimensions with the space where you intend to use it. A 500-pixel image is not suitable for a 1,500-pixel-wide banner.
2. Open the image or gallery item
Click the thumbnail and wait for any zoom view, lightbox, or full item page to load. Save from that view if it exposes a larger source.
3. Inspect responsive candidates
Look for srcset, <picture>, and <source> elements. Record the candidate with the largest width descriptor, but confirm that it actually loads and that you are allowed to use it.
4. Look at links around the image
A thumbnail is often wrapped in an anchor that points to the original. Inspect the parent link before changing the image URL.
5. Review CDN transformations
Compare image URLs used by the thumbnail, gallery, zoom view, and social preview. A larger version supplied elsewhere on the same page is safer than inventing an undocumented transformation.
6. Scan the rendered page
Paste the public page URL into the ExtractPics HD image downloader. A rendered scan can collect normal image sources, responsive candidates, lazy-loaded files, and CSS backgrounds in one place. Sort or filter the result by dimensions, then preview the largest likely candidate before downloading.
How to tell whether the larger file is truly better
More pixels do not always mean more real detail. A site can upscale a small source and save it as a larger file. Check the image at 100 percent zoom and look at fine edges, hair, product labels, or texture.
| Result | What it usually means | Best next step |
|---|---|---|
| Small dimensions, clean detail | Genuine thumbnail | Find a larger candidate or linked original |
| Large dimensions, blocky detail | Upscaled small source | Locate an earlier source or accept the limit |
| Large dimensions, smeared texture | Aggressive compression | Look for a higher-quality CDN candidate |
| Sharp center, missing edges | Cropped transformation | Find a version without crop or fit=cover |
| Clear in browser, blurry after editing | Export or recompression problem | Return to the downloaded original and export once |
Repeated conversion can cause visible damage, especially with JPG. Keep the largest clean original as a master and make separate copies for resizing or compression. The existing guide to saving images without losing quality covers that part of the workflow.
Do not confuse resolution with permission
Finding a larger file does not grant the right to publish it. The technical ability to download an image and the legal permission to reuse it are separate questions.
Apply these steps to images you own or are allowed to manage, including licensed stock and legitimate backups. If the image belongs to someone else, check its license or ask the owner before republishing it. The site's image copyright guide explains the difference between personal downloading and public reuse.
Final checklist
When an extracted image looks blurry, do not sharpen it first. Check the source.
- Confirm the file's real pixel dimensions.
- Compare its natural size with its displayed size.
- Open the gallery or zoom view.
- Inspect
srcset,<picture>, parent links, and CDN parameters. - Prefer a larger file the page already exposes.
- Avoid screenshots when a source file exists.
- Keep the clean original and edit a copy.
- Verify permission before reusing the asset.
Most blurry downloads turn out to be previews doing their job: loading fast in a small space. Start with the pixel dimensions. If the file is tiny, sharpening it is a distraction. Follow the gallery link, inspect the responsive candidates, and check whether the CDN is serving a transformed copy. A larger file is often already there, one layer behind the thumbnail you saved first.
Related posts
How to Save Images Without Losing Quality
How srcset and picture choose the image your browser loads
A plain-English explanation of responsive image selection, including density descriptors, width descriptors, formats, and original-file discovery.
How image CDN URL parameters change size, crop, and quality
A technical field guide to reading transformed image URLs and finding the largest version a page is authorized to serve.