How to extract original images from a PowerPoint file

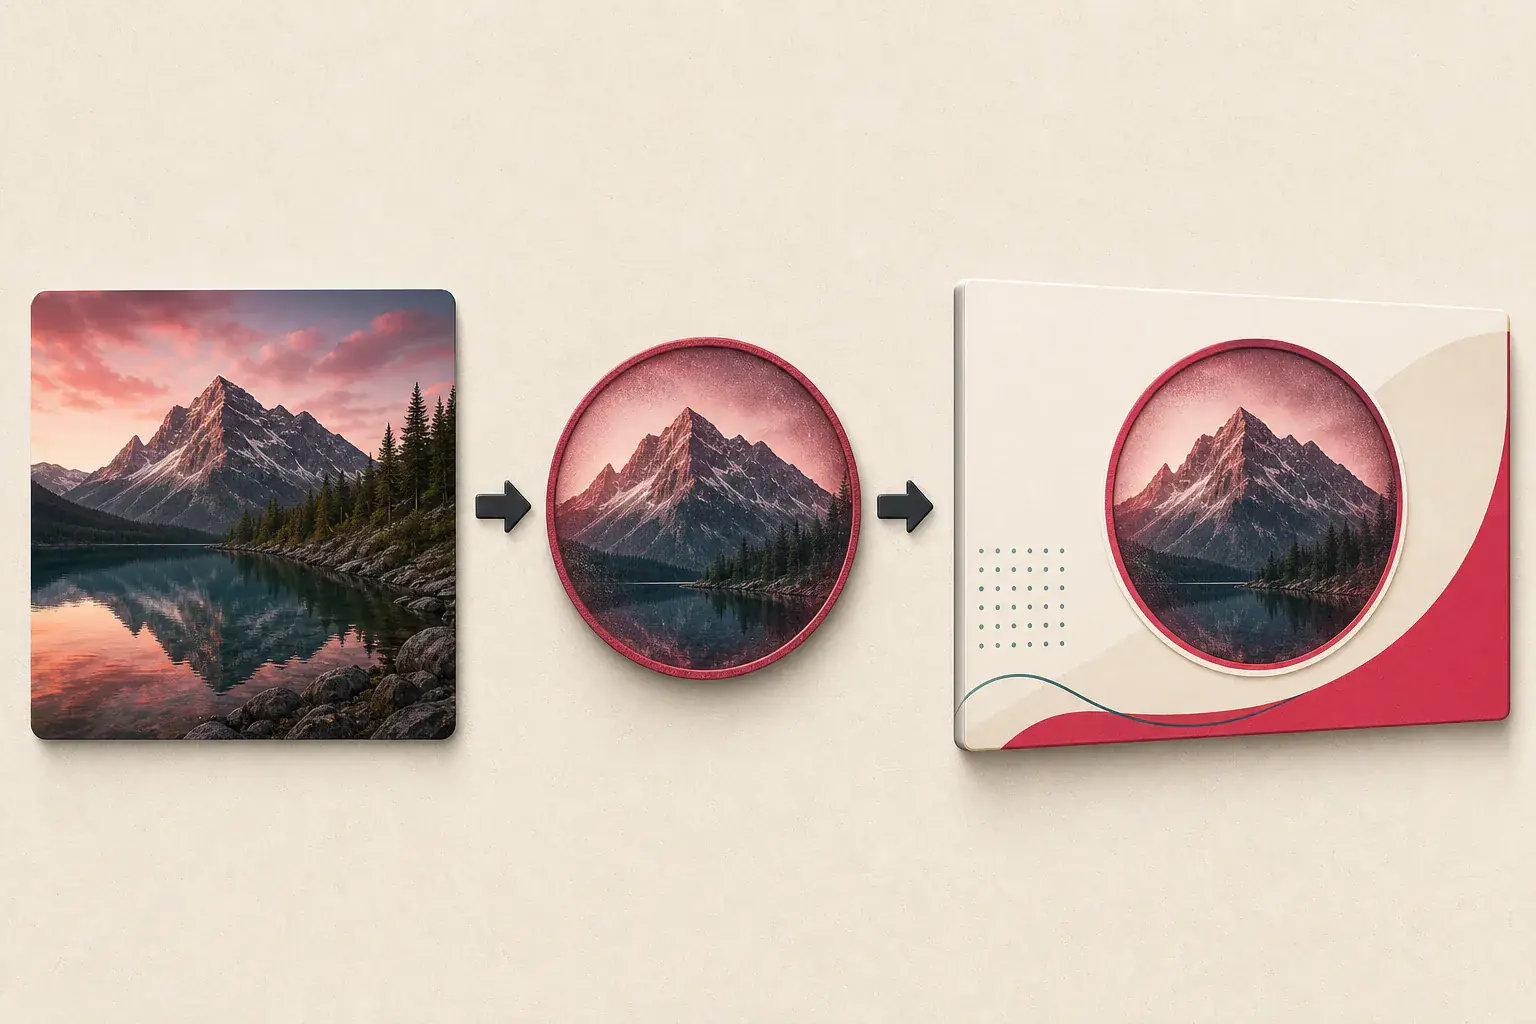
A PowerPoint slide may show a photograph at half size, inside a circle, with a color effect and a text box on top. None of that tells you what is actually stored in the presentation. The file behind the slide may contain a much larger JPEG, a transparent PNG, an SVG logo, or only a low-resolution copy that PowerPoint compressed earlier.
Taking a screenshot records the slide as it appears on your screen. It does not recover the original asset. If you need product photos for a migration, speaker headshots for a website, or every illustration for an archive, start with the presentation package itself.
Only extract and reuse media from presentations you own or are allowed to work with. A file being shared with you does not automatically grant permission to republish every image inside it. Our guide to checking an image's source and license covers that separate step.
First decide what "original" means
There are three different outputs people often call the original:
- The embedded media file. This is the JPEG, PNG, SVG, or other asset stored inside the presentation package.
- The visible slide object. This includes PowerPoint crops, transparency, recoloring, borders, and masks.
- The rendered slide. This is a flattened image of the entire slide, including text and every overlapping object.
The package method is best for the first goal. "Save as Picture" is useful for the second. Exporting a slide as PNG or JPEG produces the third. Choose before you begin, because each method answers a different question.
If your slide export looks soft, the same diagnosis in why extracted images look blurry applies: the rendered output may have fewer pixels than the media file stored underneath.
Method 1: open the PPTX as a ZIP package
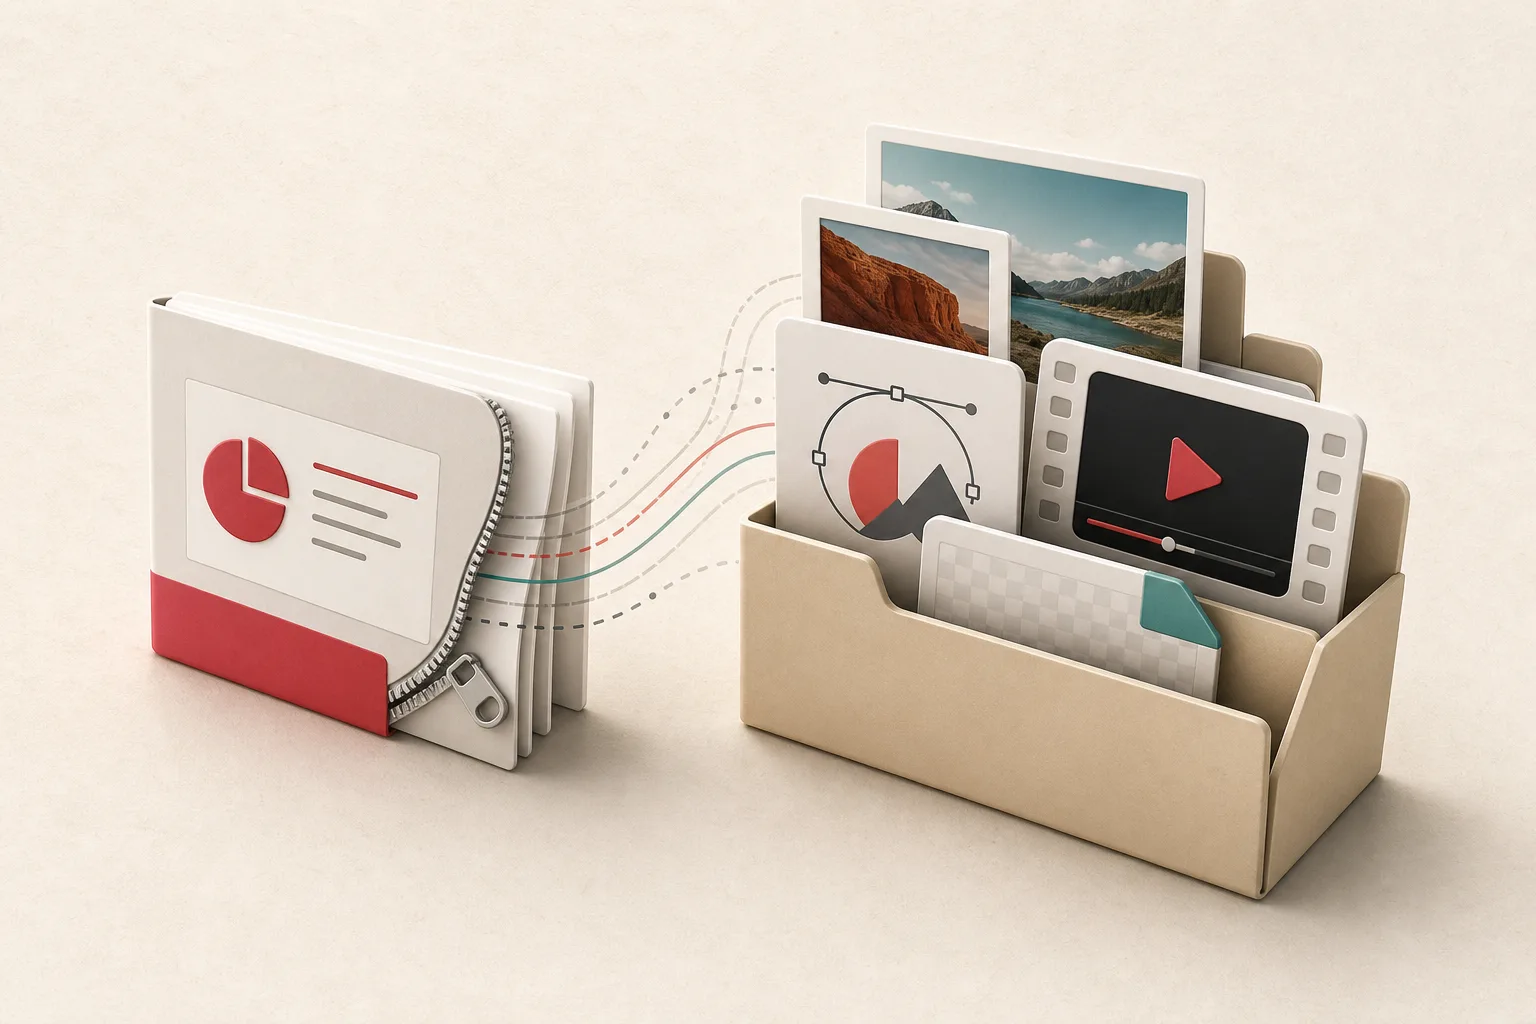
Modern .pptx files use the Office Open XML format. In practical terms, a presentation is a structured ZIP archive containing XML documents, relationships, themes, and media files. You do not need to understand the XML to recover most embedded images.
Work from a copy so the presentation remains untouched.
- Duplicate the
.pptxfile. - Rename the copy from
presentation.pptxtopresentation.zip. - Confirm the extension change if your operating system asks.
- Extract the ZIP archive.
- Open the extracted folder, then go to
ppt/media.
The media directory may contain files such as image1.jpeg, image2.png, image3.svg, and image4.wmf. Copy the files you need into a separate working folder. Do not edit them in place inside the extracted package.
On a system that hides known file extensions, make extensions visible before renaming. Otherwise, you can accidentally create a file named presentation.pptx.zip and wonder why the process feels inconsistent.
This package approach is closely related to extracting media from Word. If you work across both formats, see how to extract images from a Word document.
Why the media folder can contain duplicates
The media directory is an asset store, not a tidy export album. It may contain several copies of what looks like the same picture. Common reasons include:
- the author inserted the same source file more than once;
- PowerPoint stored an edited or compressed version separately;
- two images look alike but have different dimensions or metadata;
- a thumbnail or preview accompanies another media object;
- charts, icons, and linked content generated additional assets.
Do not remove files based only on filenames. Names such as image12.png describe package order, not subject matter. Compare dimensions, file sizes, and visual content. For a large presentation library, the perceptual-hash workflow in how to find duplicate website images can be adapted to group near-identical files.
How to match an extracted file to a slide
For a short deck, thumbnails are usually enough. Switch the media folder to a large-icon or gallery view, then compare each asset with the slides.
For a long or regulated presentation, build a more reliable record:
- note the slide number and the visible subject;
- record the extracted filename;
- capture pixel dimensions and file type;
- mark whether the slide applies a crop or effect;
- keep a checksum if the file is part of a formal archive.
PowerPoint stores relationships between slides and media in the package. The relevant XML can identify which media target a slide references, but this is usually more work than a human needs for one deck. It becomes valuable when you are automating hundreds of presentations and need a repeatable mapping instead of a visual guess.
Method 2: use Save as Picture for the visible object
Sometimes the embedded file is not the output you want. A designer may have cropped a rectangular portrait into a circle, removed a background, or combined a photo with a shape. In that case, select the picture or grouped object in PowerPoint and use its picture-saving command.
This method can preserve the visible treatment better than copying the raw file from ppt/media. The exact menu wording and available formats vary by PowerPoint version and platform, so check the picture or context menu for a save/export option.
Before saving, ask:
- Is only the picture selected, or is a larger group selected?
- Does the output need transparency?
- Are shadows and borders part of the desired asset?
- Is the slide object already low resolution?
Use PNG when transparency or hard-edged graphics matter. JPEG can be suitable for a normal photograph without transparency. SVG is preferable for a vector object when PowerPoint offers it and the downstream system accepts it.
Method 3: export the complete slide
Exporting a slide is correct when the slide itself is the artwork. A title card, process diagram, quote graphic, or training illustration may depend on the relationship between text, shapes, and images. No single file from ppt/media will reproduce that composition.
Export the chosen slide to PNG or JPEG, then inspect the pixel dimensions. A slide export is a rendering, so it can never reveal pixels that were not included in the render. It can also flatten vector objects and live text.
Avoid using a screen capture unless the presentation cannot be exported and you only need a reference. Screenshots add display scaling, window chrome, and uncertain resolution. They are a last-resort visual record, not an extraction method.
Cropping does not usually delete the hidden pixels
When a picture is cropped in PowerPoint, the package often retains the larger embedded image and records how it should be displayed. That is why the file in ppt/media may reveal areas outside the visible crop.
There are exceptions. A presentation can be deliberately compressed, and an author can choose options that discard cropped areas. If that happened before you received the deck, the removed pixels may no longer exist in the file. No extractor can reconstruct them.
This is an important privacy point too. If you are distributing a deck, do not assume that cropping sensitive information removes it. Create a properly redacted derivative and verify the package contents before sharing.
What image compression changes
PowerPoint can downsample pictures to reduce file size. Compression may affect every copy of an image in the saved deck, including the file you later recover from the media folder. A 6000-pixel photograph can therefore become a much smaller JPEG even though it still looks acceptable on a slide.
Check the recovered file rather than trusting the deck's appearance:
- Pixel dimensions: width and height reveal the available detail.
- File size: unusually small files can indicate heavy JPEG compression, though file size alone is not proof.
- Artifacts: inspect hair, text, fabric, and high-contrast edges at 100 percent zoom.
- Color: compare with a trusted source if color accuracy matters.
If the presentation contains only a compressed copy, search the project archive, media library, email attachment, or original photographer delivery. Exporting the same slide at a larger size only interpolates the pixels already present.
Linked images, videos, and unusual formats
Not every visible object is guaranteed to be stored as a straightforward JPEG or PNG.
Linked pictures can depend on an external path or URL. If that source is gone, the package may hold only a preview. Videos and audio can turn up in the same media directory, so separate them before you build a still-image inventory.
Keep SVG files as vectors when you can. Converting one to a small PNG throws away the reason it stayed sharp in the presentation. Older EMF and WMF files may need a compatible graphics tool before you can preview or convert them; preserve the source first. The guide to finding SVG sprites and web icons covers the same vector-versus-screenshot problem on websites.
Charts and SmartArt are trickier. What looks like one picture can be a mix of XML, workbook data, shapes, and theme settings. If you need the appearance rather than the editable structure, export the object or the slide.
A safe extraction workflow for teams
For more than one presentation, treat extraction as a small migration project:
- Keep the source decks read-only.
- Create one output folder per presentation.
- Extract package media without renaming the originals immediately.
- Record source deck, slide, filename, dimensions, and intended use.
- Remove exact duplicates only after verification.
- Rename approved working copies with descriptive, stable names.
- Verify usage rights before uploading them anywhere public.
- Keep a backup of the untouched extraction set.
This prevents the common failure where a team gathers attractive files, loses their provenance, and later cannot tell which deck or license they came from.
Quality checklist before you publish an extracted image
Open the asset at 100 percent zoom and confirm:
- it is the embedded image rather than a slide screenshot;
- its dimensions suit the final display size;
- a crop did not expose content that should remain private;
- transparency and color look correct;
- its file type suits the content;
- you know the presentation and slide it came from;
- you have permission for the new use;
- its filename and alt text describe the image rather than
image17.
If the asset will move to a website, run the broader checks in how to migrate product images without losing quality. That guide covers source masters, derivatives, URL mapping, and visual QA.
Choose the layer you actually need
Open a duplicate PPTX as a ZIP archive when you want the embedded media. Use PowerPoint's picture-saving command when the crop or visual effect matters. Export the whole slide when the composition is the asset.
Those are three different layers, and file size will not tell you which one you need. Label the result as embedded media, edited object, or slide render. That small bit of honesty prevents a screenshot from quietly becoming the team's new "original."
Related posts
How to Extract Images From a Word Document
Embedded PDF images vs rendered pages: what is the difference?
Choose the right PDF image method by understanding what is stored inside the file and what a PDF viewer draws on screen.
How to extract images from Google Docs without screenshots
Four practical ways to recover images from a Google document, with honest notes about compression and permissions.