How to Extract Images From a Word Document

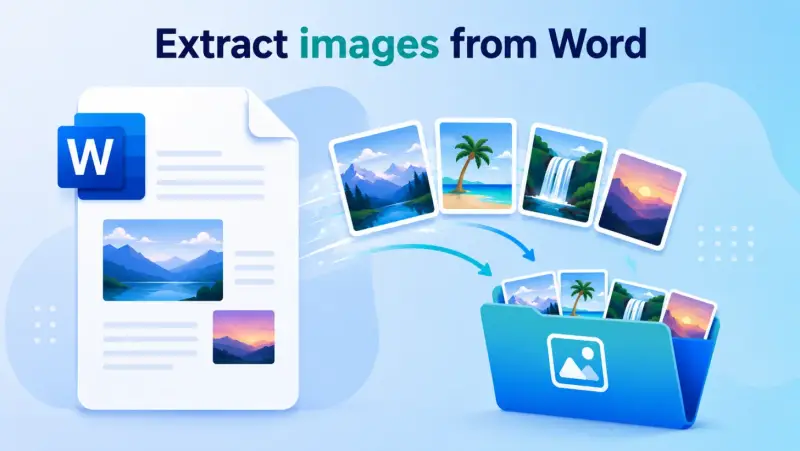
If you want to extract images from a Word document, you don't need any special software. Word itself can hand over your pictures at full quality, you just have to know where to look. Depending on whether you need one image or all of them, there's a method that fits.
Below are three easy ways to get your images out of Word: a quick copy-paste, the hidden zip trick for grabbing everything at once, and saving the file as a web page. Pick the one that suits you.
Method 1: Copy and Paste an Image
This is the quickest way when you only need one or two pictures.
In your Word document, right-click the image you want.
Choose Copy.
Open an image editor like Paint (or Paint 3D, Photoshop, anything that handles images).
Paste the image with
Ctrl + V.Go to File → Save As, pick PNG to keep it sharp, and save.
It's fast and needs nothing extra. The only thing to watch is that this copies the image as it appears in the document, so if Word compressed it when it was added, you won't get back any quality that was already lost. For the original, untouched files, use the zip trick below.
Method 2: The Zip Trick (Get Every Image at Full Quality)
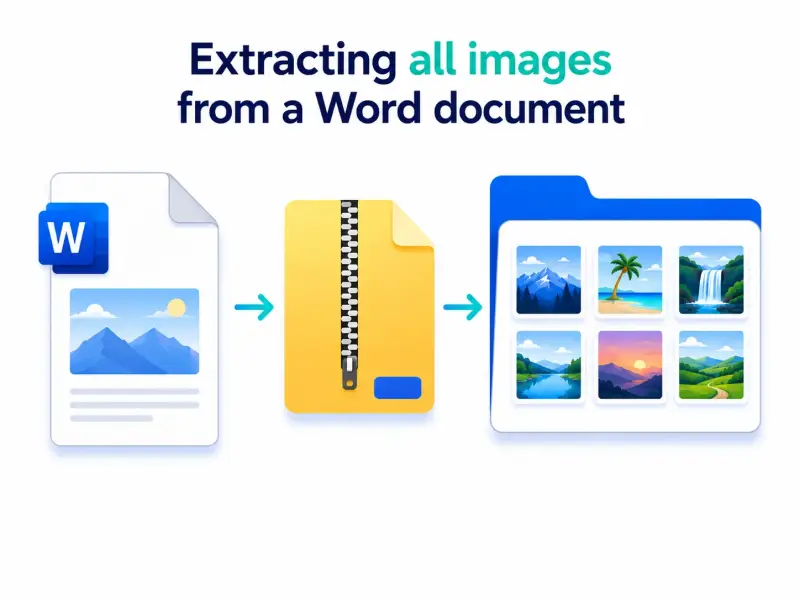
Here's the one most people don't know: a Word .docx file is actually a zip folder in disguise, and your original images are stored inside it untouched. This is the best way to pull out every image at once, exactly as they were added.
Make a copy of your Word file first, so you don't risk the original.
Rename the copy's extension from
.docxto.zip. (If you can't see the extension, turn on File name extensions in File Explorer's View menu.)Double-click the zip to open it, then go to the
wordfolder, and inside it themediafolder.There you'll find every image from the document at full quality. Copy them out to any folder.
Since these are the original files Word saved on insert, you get them before any compression, no quality loss at all. It's perfect when a document has lots of images and saving them one by one isn't worth the time.
Method 3: Save the Document as a Web Page
If renaming files feels fiddly, Word can export all the images for you in one step.
Open your document and go to File → Save As.
Choose a location, then in the file type dropdown pick Web Page (.htm).
Click Save.
Word creates a new folder next to the saved file, with a name ending in
_files.Open that folder, and all your images are sitting there as separate files.
This gives you every image without touching the file extension, so it's a good alternative to the zip trick if that felt complicated. One small note: Word may save two copies of each image (a full-size and a smaller preview), so just keep the larger versions.
Method 4: Extract Images on a Mac
The zip trick works the same on a Mac, with one small change. You use the built-in Archive Utility instead of renaming in Explorer.
Make a copy of your
.docxfile.Right-click the copy, choose Rename, and change
.docxto.zip.Double-click the
.zip. Archive Utility unpacks it into a folder automatically.Open that folder, go to word > media, and every image is there at full quality.
How to Extract Images From Google Docs
If your document lives in Google Docs instead of Word, there's a clean one-step export.
Open the document in Google Docs.
Go to File > Download > Web Page (.html, zipped).
Google hands you a
.zipfile. Open it, and the images folder inside holds every picture at full size.
For just one image, you can also click it, copy it, and paste it straight into an image editor to save.
What About Older .doc Files?
The zip trick only works on the newer .docx format. An older .doc file isn't a zip, so renaming it won't do anything.
The fix is simple. Open the file in Word, go to File > Save As, and save it as a Word Document (.docx) first. Then use the zip trick on the new copy. The save-as-web-page method also works on both formats if you'd rather skip that step.
Why the ZIP method usually gives the best copy
A modern .docx file is an Open XML package. When you rename a copy to .zip, the embedded media is normally stored inside word/media. That is why the ZIP method can recover every embedded file without taking screenshots or copying the on-screen preview.
The recovered folder may include duplicates, cropped sources, or files that are no longer visible in the final document. Sort by dimensions, open the likely candidates, and compare them with the document before deleting anything. If Word compressed the image when it was inserted, extraction cannot restore the pixels that were already discarded.
If word/media is missing, confirm that the file is really .docx and that your file manager is showing extensions. A linked image may not be embedded at all. In that case, ask for the original source file or open the document on a computer that can still reach the linked location.
Related ExtractPics guides
- How to Save Images Without Losing Quality
- How to Extract Images From a PDF
- How to Convert PNG to JPG (and JPG to PNG)
- Why Downloaded Images Look Blurry and How to Fix It
Sources and verification
This article was reviewed against the following primary documentation and standards in August 2026:
- Microsoft Learn: structure of a WordprocessingML document
- Microsoft Support: turn off picture compression
- MDN: image file type and format guide
Use copy-paste for one image, ZIP for the set
Copy-paste is quick when quality is not critical. For a complete or high-quality recovery, work from a duplicate of the .docx, rename it to .zip, and inspect word/media. Keep the original document untouched. Older .doc files need to be converted first, and sensitive documents should stay on your own device.
