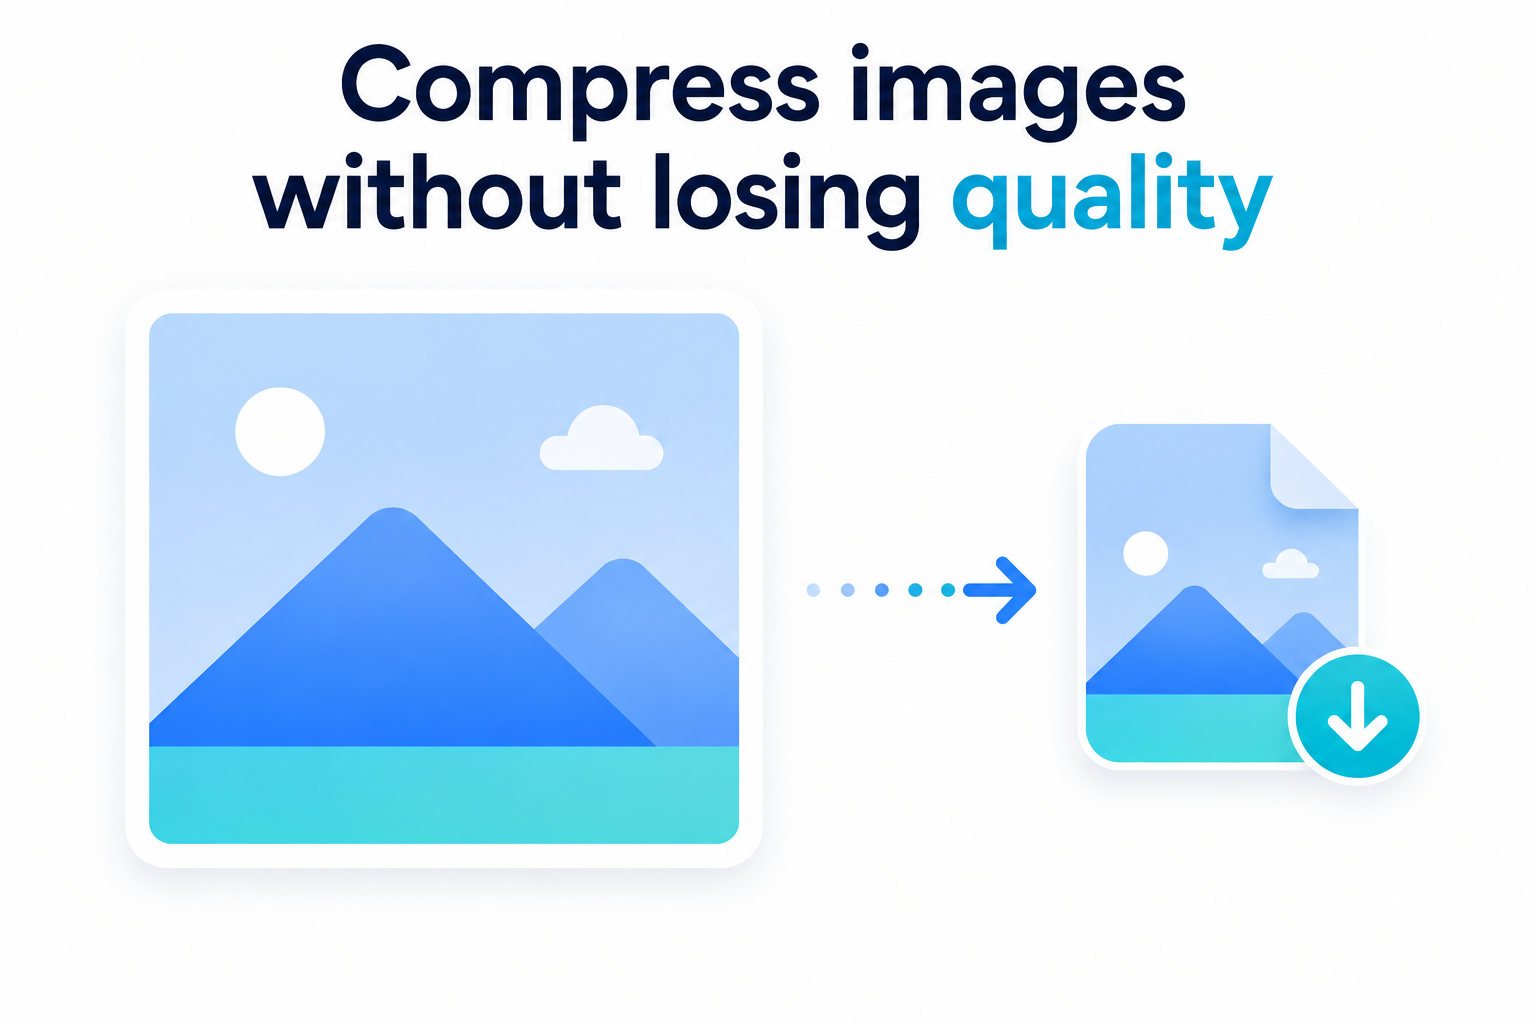
How to Compress Images Without Losing Quality
Compress images without losing quality fast. The best free tools, how to hit a 100KB limit, and the resize trick that keeps photos sharp.

list On this page expand_more
How to compress images without losing quality is easier than most people think, but the wrong settings can leave your photos blurry or full of ugly artifacts. The trick isn't just shrinking the file, it's cutting the size while keeping the detail your eyes actually notice.
Big image files slow down your website, eat up storage, and get rejected by upload forms that cap you at 100KB or 2MB. So you compress. The problem is that most quick tools crush the quality along with the file size.
The good news: you don't have to choose between small and sharp. With the right method, you can drop a 4MB photo down to a few hundred KB and barely see a difference. This guide walks through the exact tools and settings to do it, whether you need a quick online compressor, a specific target size like 100KB, or clean JPG and PNG files for your site.
How to Compress Images Online (Free, No Software)
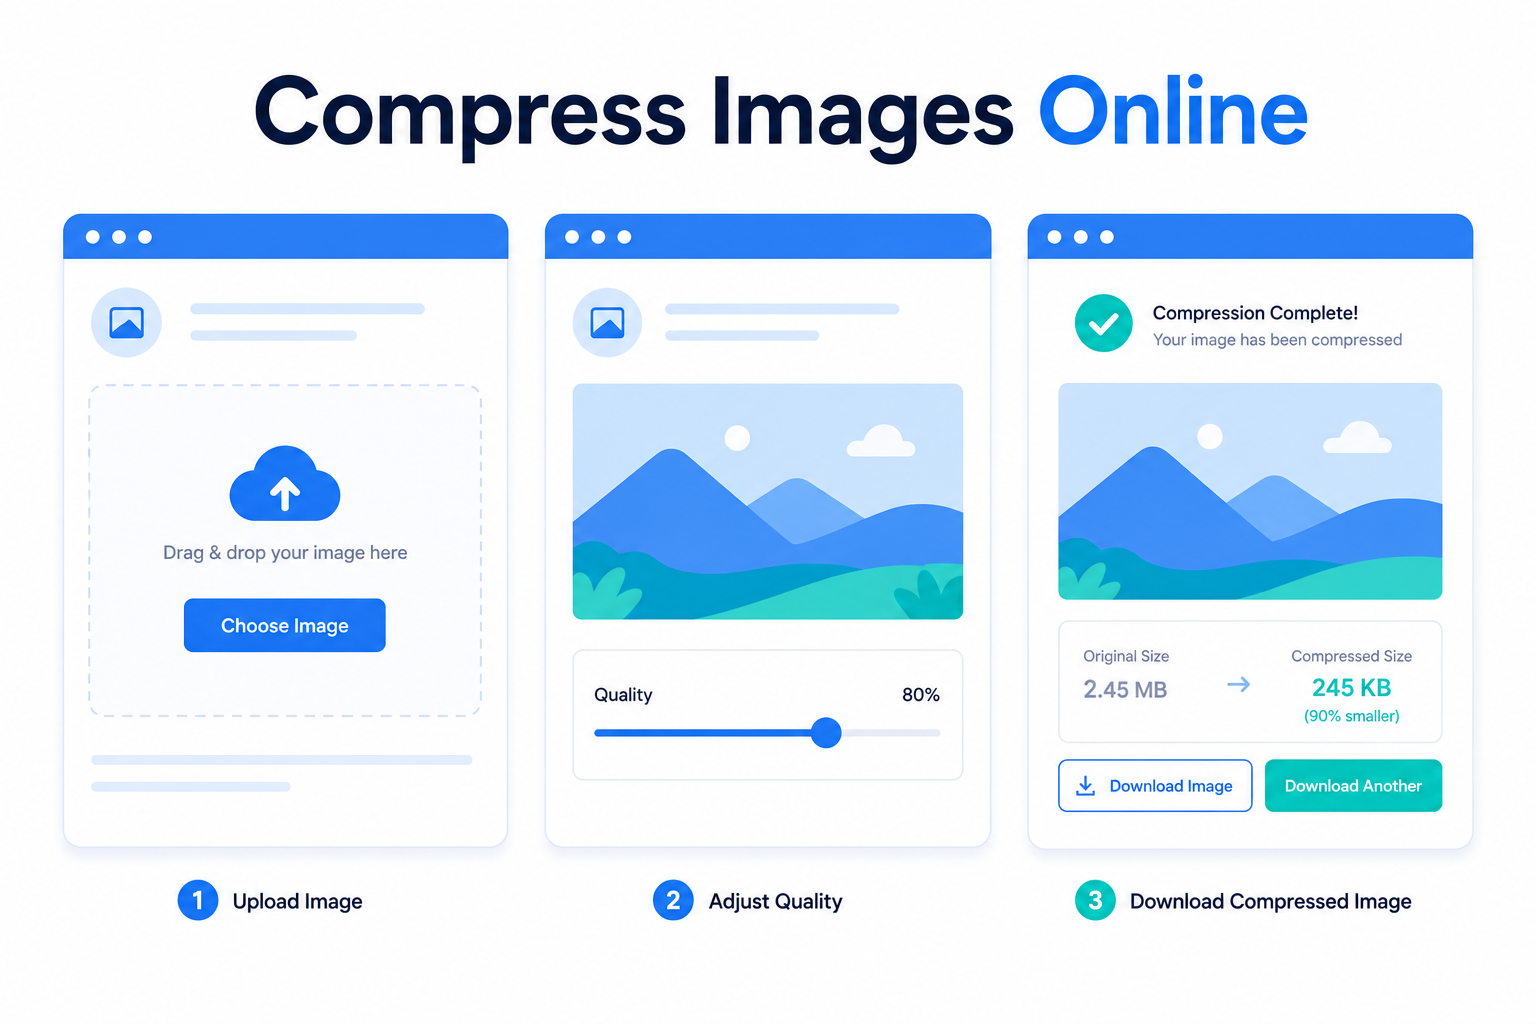
For most people, a free online compressor is the fastest way to go. No installs, no account, just drag and drop. Here are three that actually keep quality high:
TinyPNG (tinypng.com) is best for PNG and JPG. It uses smart lossy compression that strips data your eyes won't miss. Drop in up to 20 images at once, wait a few seconds, and download. A typical photo drops 60–70% in size with no visible change.
Squoosh (squoosh.app) is made by Google and gives you the most control. You get a side-by-side slider to compare the original against the compressed version in real time, so you can push the quality down only as far as it still looks good.
iLoveIMG (iloveimg.com) is best when you have a whole folder to do. It handles bulk compression and also lets you resize at the same time.
Step-by-step (using Squoosh, since it shows you the result live):
Go to squoosh.app and drag your image onto the page.
On the right panel, pick a format. Use MozJPEG for photos, OxiPNG for graphics with flat colors or transparency.
Drag the Quality slider down to around 75. Watch the left side of the preview, you'll see the file size drop in the bottom corner.
Keep lowering until you spot quality loss, then nudge it back up a notch.
Click the download button in the bottom right.
A quick tip: quality 75–80 is the sweet spot for almost any photo. Below 60 is where things start looking rough.
How to Compress an Image to a Specific Size (100KB, 50KB, or 20KB)
Sometimes the problem isn't general size, it's a hard limit. Government forms, job portals, and exam applications often demand a photo under 100KB, 50KB, or even 20KB. Here's how to hit an exact target without wrecking the image.
Use a compressor that lets you set a target size. Most tools only offer a quality slider, but a few let you type the size you need:
Open a target-size compressor like iLoveIMG, Img2Go, or the 11zon image compressor.
Upload your photo and look for the option that says "compress to size" or a field where you enter KB.
Type your target, for example 100, and let the tool process it.
Download and check the result. If it looks soft, the next tip fixes that.
The real secret: shrink the dimensions, not just the quality. This is what most guides miss. A 4000×3000 photo has too many pixels to fit in 50KB while staying sharp. Quality compression alone will turn it to mush.
Instead, resize first. For a 100KB target, scaling the image down to around 1200px on the long side does most of the work. Then apply light compression on top. You end up with a smaller file that still looks crisp at normal viewing size, because you removed pixels you didn't need rather than crushing the ones you kept.
Quick reference:
Under 100KB: resize to ~1200px wide, then quality 70–80
Under 50KB: resize to ~800px wide, then quality 65–75
Under 20KB: resize to ~500px wide, expect some softness, fine for thumbnails or icons
For passport or ID photos with strict pixel rules, resize to the exact dimensions they ask for first, then compress to meet the KB limit.
How to Compress JPG and PNG Without Losing Quality
JPG and PNG behave very differently, so the right method depends on which one you have. Compress them the same way and you'll waste quality on one and file size on the other.
Compressing JPG. JPG is already a lossy format, which means every save throws away some data. The goal is to compress once, at the right level, and stop. Use quality 75–80 in any tool. Going lower saves a little space but starts showing blocky patches in skies and smooth areas. Never re-save the same JPG over and over, the damage stacks up each time.
Compressing PNG. PNG is lossless, so it keeps every pixel perfect, which also makes it heavy. The smart move is PNG-8 instead of PNG-24 when your image has flat colors, logos, icons, or simple graphics. PNG-8 uses a smaller color palette and can cut the size by half or more with no visible change. Tools like TinyPNG do this automatically.
When to switch formats. If a PNG photo is still huge after compression, it probably shouldn't be a PNG at all. Photos belong in JPG or WebP, not PNG. PNG is for graphics with sharp edges or transparency. Picking the right format from the start saves more space than any compression setting. If you're not sure which to use, our guide on JPG vs PNG vs WebP breaks down exactly when to pick each one.
The best option: WebP. If the image is going on a website, convert it to WebP. It's typically 25–35% smaller than JPG at the same quality and supports transparency like PNG. Squoosh and most modern compressors export to WebP in one click.
Tips to Keep Quality High When Compressing
A few habits make the difference between a clean compressed image and a ruined one. Keep these in mind no matter which tool you use.
Always keep the original. Compression is one-way. Once you save a smaller file, you can't get the lost detail back. Store the full-size original somewhere safe and compress a copy, so you can always start over if you push it too far.
Match the format to the image. Photos go in JPG or WebP. Logos, screenshots, and graphics with flat color or transparency go in PNG. Getting this right does more for file size than any slider.
Resize before you compress. If an image is wider than it will ever be displayed, you're storing pixels nobody sees. A photo shown at 800px wide doesn't need to be 4000px. Scale it down first, then compress.
Don't compress twice. Re-compressing an already compressed JPG stacks the damage. Edit from the original, then export once at your final size.
Use quality 75–80 as your default. It's the point where files get noticeably smaller but your eyes still can't tell the difference. Only go lower for thumbnails or images where size matters more than sharpness.
Conclusion
Compressing images without losing quality comes down to two moves: resize the image to the size it'll actually be shown at, then apply light compression at quality 75–80. Do those in order and you'll cut file size by half or more while keeping your photos sharp.
For quick jobs, Squoosh or TinyPNG handle it in seconds. For a strict limit like 100KB, resize first and use a target-size tool. And whenever an image is headed for a website, save it as WebP for the smallest file. Keep your originals safe, pick the right format, and you'll never have to choose between small and sharp again.