How to Resize an Image

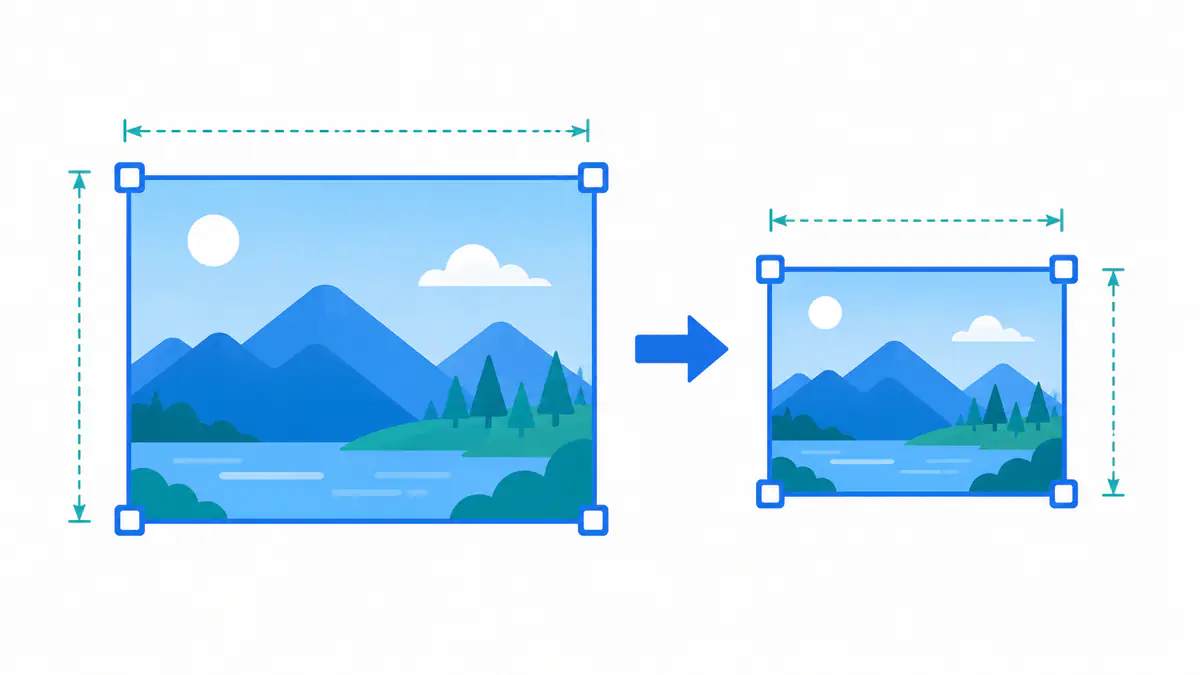
You can resize an image in under a minute, whether you need it smaller for a website, a specific size for a form, or the right shape for Instagram. Resizing changes the width and height of a photo, measured in pixels, so it fits wherever you're putting it.
The method depends on your device. Windows and Mac both have a built-in resizer, phones can do it with the right app or an online tool, and a free website handles it from anywhere. None of them need paid software.
This guide covers how to resize on every device, the common sizes for social media, and how to keep your image sharp instead of blurry when you change its dimensions.
Resize vs Compress: What's the Difference
People mix these up, but they do two different things.
Resizing changes the dimensions of an image, its width and height in pixels. A 4000 by 3000 photo resized to 1200 by 900 has fewer pixels, so it takes up less space on screen and in the file.
Compressing keeps the dimensions the same but reduces the file size by squeezing the data. The image looks the same size, it just weighs less.
Often you want both. Resizing a huge photo down to the size you'll actually display does most of the work, and compressing on top trims the file even further. For a photo headed to a website, resize first, then compress.
If your real goal is a smaller file rather than a different shape, our guide on how to compress images without losing quality covers that side in full.
How to Resize an Image on Windows
Windows has two built-in ways to resize, and neither needs a download.
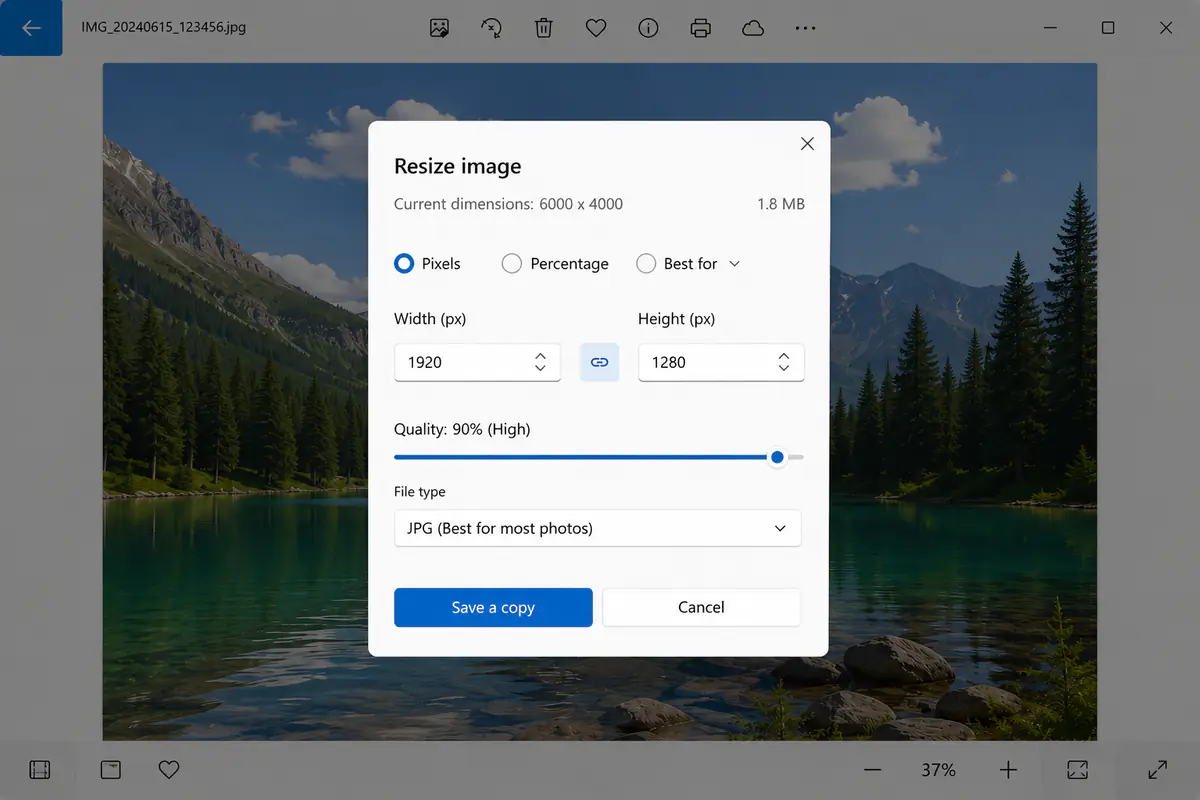
Using the Photos app:
Right-click the image and choose Open with > Photos.
Click the three-dot menu in the top right and pick Resize image.
Choose a preset size, or select Define custom dimensions to type an exact width and height.
Keep Maintain aspect ratio ticked so the photo doesn't stretch, then click Save.
Using Paint:
Open the image in Paint.
Click Resize in the toolbar.
Switch to Pixels, enter your new width, and leave Maintain aspect ratio on so the height adjusts on its own.
Save with File > Save as.
Both take seconds. Photos is a little cleaner for exact sizes, while Paint is handy if you just want a quick change. Either way, keep aspect ratio locked unless you truly want to change the shape, or the image will look squashed.
How to Resize an Image on Mac
Mac's built-in Preview app handles resizing with nothing extra to install.
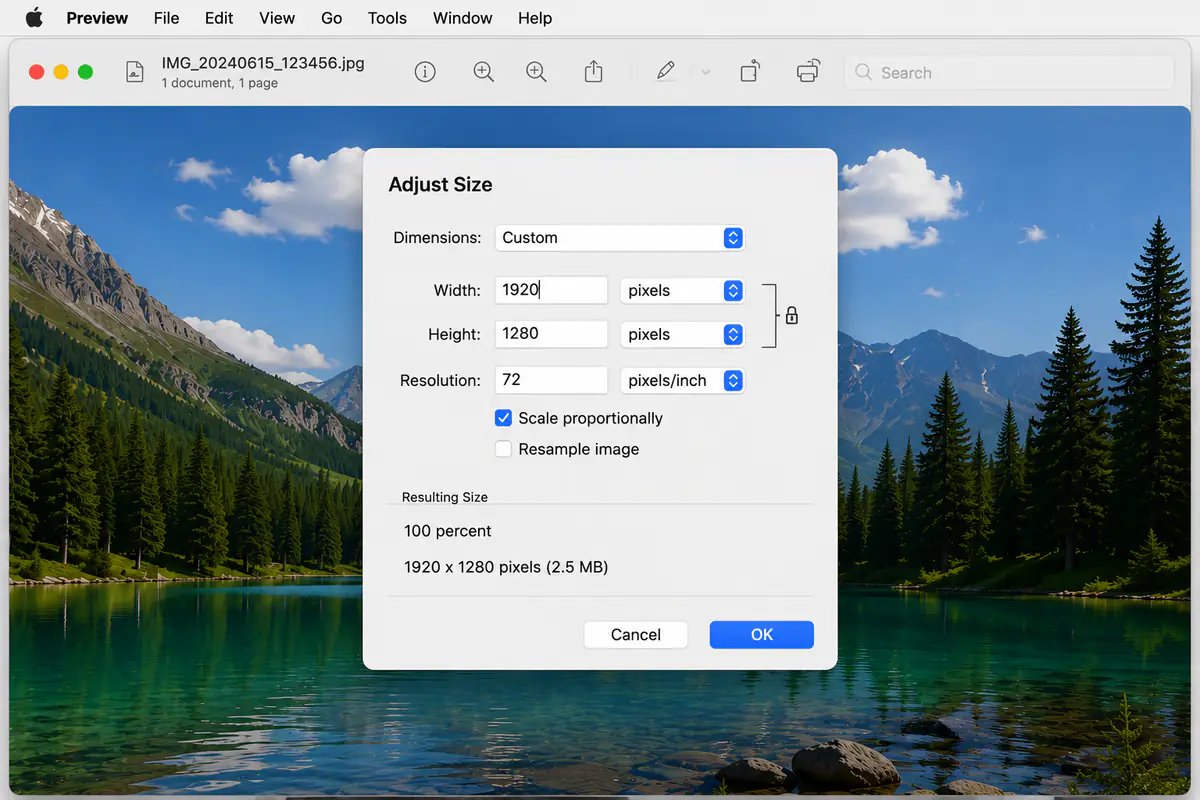
Open the image in Preview.
Click Tools in the menu bar, then Adjust Size.
In the box, set the units to pixels, then enter your new width or height.
Keep Scale proportionally ticked so the other dimension updates automatically and the photo keeps its shape.
Click OK, then save with Cmd + S.
The Adjust Size box also shows the resulting file size as you type, so you can see how much smaller the image gets. If you want to resize a batch, select all the photos in Finder, open them together in Preview, and apply Adjust Size to the whole selection at once.
Leave Scale proportionally on unless you deliberately want to change the aspect ratio, otherwise the image will stretch.
How to Resize an Image on iPhone
The iPhone has no resize button in the Photos app, but there are two easy ways around it.
Using the Shortcuts app (built in):
Open Shortcuts and tap + to make a new one.
Add the Resize Image action, then add Save to Photo Album.
Set your target width, and run the shortcut on any photo from the share sheet.
Once it's set up, resizing is a single tap from then on. This is the cleanest option if you resize photos often.
Using an online tool (no setup):
Open a resizer like iLoveIMG in Safari.
Upload your photo, enter the new dimensions, and download the result.
For a one-off, the online route is quicker since there's nothing to build. Either way, keep the aspect ratio locked so the photo doesn't stretch.
How to Resize an Image on Android
Android doesn't have one standard resize tool, since it changes between brands, but two methods work on any phone.
Using an app:
Install a free resizer like Photo & Picture Resizer or Pixlr from the Play Store.
Open the app and pick your photo.
Choose a preset size or enter exact pixels, keep the aspect ratio locked, and save. The app drops the resized copy in your gallery.
Using an online tool:
Open a resizer like iLoveIMG in Chrome.
Upload the photo, set the new width and height, and download it.
The app route is better if you resize regularly, since it's a couple of taps each time. For a one-off, the browser tool saves you an install. Some Android photo editors also let you crop to a set size, but that trims the image rather than scaling it, so use a proper resizer when you want the whole photo at a smaller size.
How to Resize an Image Online
An online resizer works from any browser, on any device, with nothing to install. It's the easiest option when you're switching between a phone and a computer.
The steps are similar on most of them:
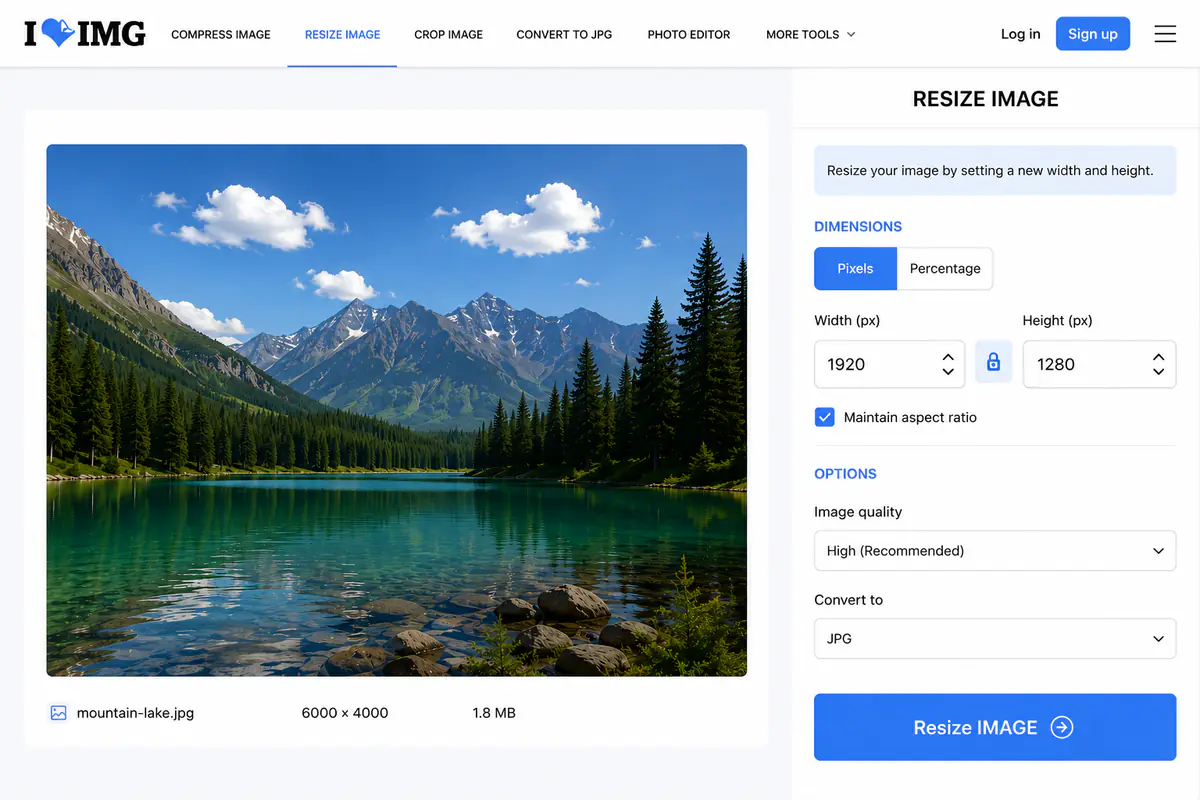
Open a resizer like iLoveIMG, Adobe Express, or Img2Go.
Upload your image.
Enter the new width and height in pixels, or pick a percentage to scale it down.
Keep the aspect ratio locked, then download the resized file.
Most of these also handle extras in the same place. You can resize several images at once, pick from ready-made social media sizes, or crop to a set shape. Some even let you compress right after, so the file comes out both smaller in size and dimensions.
One thing to watch when uploading to any online tool is privacy. For everyday photos it's fine, but for anything sensitive, a built-in app on your own device keeps the image off the web.
Common Image Sizes for Social Media
Each platform has its own ideal dimensions. Resize to these and your image shows up crisp instead of cropped or stretched.
Platform | Format | Size (pixels) |
|---|---|---|
Square post | 1080 × 1080 | |
Portrait post | 1080 × 1350 | |
Story / Reel | 1080 × 1920 | |
Feed post | 1200 × 630 | |
Story | 1080 × 1920 | |
Pin | 1000 × 1500 | |
X (Twitter) | Feed image | 1600 × 900 |
YouTube | Thumbnail | 1280 × 720 |
Feed image | 1200 × 627 |
A couple of quick rules. Vertical formats like 1080 by 1920 fill more of a phone screen and usually get more attention. And when in doubt, start from a large, high-quality original and resize down to the size you need, rather than scaling a small image up.
How to Resize Without Losing Quality
Resizing can leave a photo looking soft if you do it the wrong way. A few habits keep it sharp.
Scale down, not up. Making an image smaller keeps it crisp, because you're removing pixels you don't need. Making it bigger forces the software to invent pixels that weren't there, which causes blur. If you need a larger version, start from the biggest original you have.
Always start from the highest-resolution copy. Resizing an already small or already resized image compounds the quality loss. Keep your originals and resize a copy each time.
Keep the aspect ratio locked. Changing width and height out of proportion stretches faces and objects. Lock the ratio so one dimension follows the other.
Pick the right format. Save photos as JPG or WebP, and graphics with text or transparency as PNG. If you're unsure, our guide on JPG vs PNG vs WebP breaks down which to use.
Do these and a resized image looks just as clean as the original, only at the size you actually need.
Set dimensions from the destination
Start with the slot where the image will be used. A 400-pixel thumbnail, a full-width website image, and a print file need different outputs. Keep the aspect ratio locked unless a deliberate crop is part of the design.
Make the resized version from the original, not from an earlier small export. Upscaling can create more pixels, but it cannot recreate fine detail that the source never contained.
Related ExtractPics guides
- Why Downloaded Images Look Blurry and How to Fix It
- How to Compress Images Without Losing Quality
- Image File Formats Explained
- How to Save Images Without Losing Quality
Sources and verification
This article was reviewed against the following primary documentation and standards in August 2026:
- MDN: using responsive images
- MDN: image file type and format guide
- Google for Developers: WebP compression techniques
Resize from the original and check the result
Choose the destination dimensions, lock the aspect ratio, and export a separate copy. View it at the real display size before deciding that it is sharp enough. For websites, responsive image markup can serve smaller files to small screens without forcing one oversized image onto every device.
