The short answer
Why use Add Border?
Drawing a frame in a basic editor usually paints over the edge of the photo. Here the border is added outside it, at an exact pixel width.
Size sets the border width from 1 to 160 pixels and starts at 24. Color starts at a deep red, so pick white, black, or your brand color before you save. The width is in real pixels of your photo. On a 1080 pixel Instagram post, 24 px reads as a clear frame; on a 4000 pixel camera photo it looks like a thin line, so go higher.
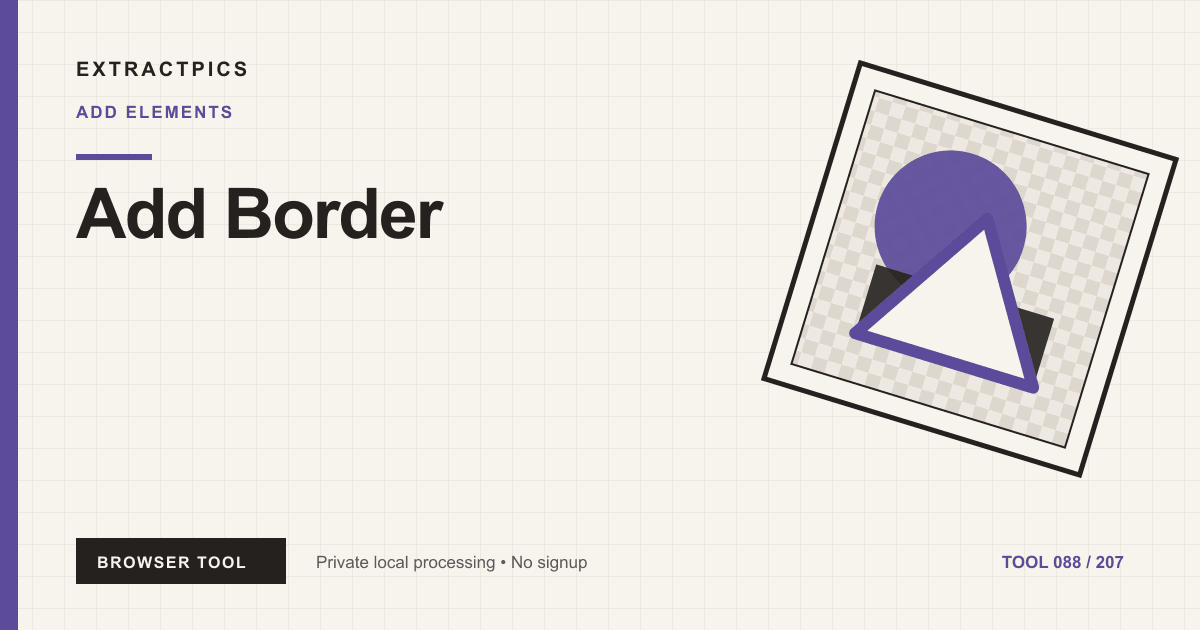
The border color is laid down under the whole canvas before the photo is drawn on top. That matters for PNGs with transparent parts, such as a logo or a cutout: the empty areas fill with the border color too. If you want a frame that follows the outline of a cutout instead, this is the wrong tool.
Add Stroke is the one that follows the shape of a transparent image, like a sticker outline. Rounded Corners trims the corners instead of adding a frame. Square Image adds padding only where needed to make the picture square, which is what you want for a full photo profile picture.
Where Add Border fits
Instagram frames
Put a white frame around a photo so it stands out in a feed.
Print margins
Add a white edge so a borderless print leaves room for a frame lip.
Screenshot separation
Outline a white screenshot in gray so it does not blend into a white page.
Start to finish
How to use Add Border
- 01Tap Choose image or Paste from clipboard to open the photo that needs a frame.
- 02Set Size (starts at 24 px, up to 160) and replace the red default Color with white, black, or your brand color.
- 03Tap Apply changes, check the new dimensions are larger by twice the Size, then Download result.
What to expect from Add Border
| Check | What it means here |
|---|---|
| Supported input | JPEG, PNG, WebP, GIF, BMP, SVG and browser-supported AVIF images |
| Main controls | Text, color, size, opacity, or layout, depending on the tool |
| Output | A PNG image, or a ZIP when the tool makes several files |
| Working limit | 50 MB and 50 megapixels per image; jobs with several images also depend on memory |
Add Border tips
- On a 1080 px post, 30 to 50 px reads as a clear white frame.
- Camera photos around 4000 px need Size near 160 for a visible border.
- Transparent areas of a PNG fill with the border color.
- Add a thin dark border, download, then add a wider white one for a matted look.
Add Border FAQ
Something missing? Ask us.
Does the border cover part of my photo?
Can I make the top and bottom border different from the sides?
What happens to a transparent PNG?
Does Add Border upload my file?
Is Add Border free to use?
Why did Add Border fail or look wrong?
Related tools
More in Add Elements.